Developer Docs
Development Overview
Welcome to the Cypht developer documentation. This guide covers everything you need to know about contributing to Cypht, from understanding the codebase structure to creating modules and debugging.
Cypht is built entirely with a modular architecture using PHP and JavaScript. Every feature is implemented as a module that can be enabled or disabled independently, making it highly extensible and customizable.
Project Structure
Understanding the Cypht folder structure is essential for navigating and modifying the codebase effectively.
Module Architecture
Cypht's modular design is the foundation of its extensibility. Each module is self-contained and can be enabled or disabled independently.
Module Structure
Each module contains the following files :
- site.js : Module-specific JavaScript code
- site.css : Module-specific CSS styles
- setup.php : Module configuration, pages, handlers, and allowed variables
- modules.php : Handler and output classes
- assets/ : Fonts, images, and other resources (optional)
Module Dependencies
Modules should be designed to be as self-contained as possible. It's acceptable to depend on the core module, but avoid dependencies between non-core modules. If you need functionality from another module, consider if you're building it in the right place.
Creating Pages
Cypht supports two types of pages : basic pages (accessible via URL) and AJAX pages (load asynchronously).
Basic Pages
To create a page called "list_messages" :
In module/setup.php :
setup_base_page('all_messages', 'core');

add_handler('all_messages', 'load_messages', true);
add_output('all_messages', 'print_messages', true);- setup_base_page adds the page to the routes : it becomes reachable with
/?page=all_messages. - add_handler attaches a handler : logic, form validation, alert messages, and output variables.
- add_output attaches an output : the HTML returned to the client.
In module/modules.php :
class Hm_Handler_load_messages extends Hm_Handler_Module {
    public function process() {
        // Logic to get messages
        $this->out('messages', $message_list);
    }

}

class Hm_Output_print_messages extends Hm_Output_Module {
    protected function output() {
        $messages = $this->get('messages');
        return '<div class="message_list">' . implode('', $messages) . '</div>';
    }
}
AJAX Pages
For AJAX pages that load data asynchronously :
setup_base_ajax_page('ajax_load_new_messages', 'core');

add_handler('ajax_load_new_messages', 'get_new_messages', true);
add_output('ajax_load_new_messages', 'print_new_messages', true);AJAX with JavaScript
Add this code in module/site.js to run your AJAX page every 15 seconds :
$(function() {
    if (hm_page_name() === 'all_messages') {
        setInterval(function() {
            Hm_Ajax.request(
                [{'name': 'hm_ajax_hook', 'value': 'ajax_load_new_messages'}],
                function(res) {
                    if (res.ajax_messages) {
                        // Append new messages to the list of messages
                        $('#messages_list').append(res.messages);
                    }
                }
            );
        }, 15000);
    }

});Page Authorization
Finally, add the following code to module/setup.php :
return array(
    'allowed_pages' => array(
        ...
        'ajax_load_new_messages',
        'all_messages'
    ),
    'allowed_get' => array(...),
    'allowed_output' => array(
        ...
        'ajax_messages'
    ),
    'allowed_post' => array(...)

);- Add all_messages and ajax_load_new_messages to the list of allowed pages
- Add ajax_messages to the list of allowed outputs
- Add post/get variables if they exist in the list of allowed get/posts
Handlers and Outputs
Understanding the separation between handlers (logic) and outputs (presentation) is key to Cypht development.
Data Flow
- Handlers process first and can pass data using $this->out('key', 'value')
- Outputs run after handlers and can access data using $this->get('key')
- Outputs return HTML that gets combined to form the final page
Internationalization
Cypht supports multiple languages with a simple translation system.
Translating Strings
In output modules :
$this->trans("Your text here");Or with specific language :
hm_trans("Your text here", "en");The second parameter is optional : the default is the user's language from the settings page.
Adding Translation Strings
Add your string to every file in the language folder. File names are language codes and each file returns an array : append your string at the end. If you know the translation, add it as the value, otherwise use false.
Adding New Languages
- Duplicate en.php in the language folder
- Rename using 2-digit ISO 639 code
- Modify interface_lang and interface_direction
- Add to interface_langs() function
- Update Hm_Test_Core_Output_Modules::test_lingual_setting test
Testing
Cypht includes comprehensive test suites using PHPUnit and Selenium to ensure code quality and reliability.
PHPUnit Tests
Run all tests :
php vendor/phpunit/phpunit/phpunit --configuration tests/phpunit/phpunit.xmlRun specific tests :
php vendor/phpunit/phpunit/phpunit \
--configuration tests/phpunit/phpunit.xml \
--filter classOrMethodName
Selenium Tests
- Install Python and required packages :
pip install -r tests/selenium/requirements.txt - Run tests :
sh tests/selenium/runall.sh
Fixing Failing Tests
Check console output for failure details, click file paths in IDE to navigate to problematic lines, and review recent changes to classes or logic.
There was 1 failure:
1) Hm_Test_Uid_Cache::test_uid_is_read
Failed asserting that true is false.
/var/www/cypht/tests/phpunit/cache.php:19
Debugging
Effective debugging techniques for Cypht development.
AJAX Request Debugging
- Add var_dump() and exit() in your code
- Use browser developer tools → Network tab
- Filter by Fetch/XHR to see AJAX requests
- Click requests to inspect preview/response
Menu Caching
If you add a link to the left menu but don't see it, Cypht caches menus. Click the reload link below the navigation menu to refresh.
Tracking PHP Errors with GlitchTip
GlitchTip is an Open Source, Sentry-compatible error tracker. Pointing your instance at one gives you the stack trace, the request context and the number of occurrences for every PHP error, which is the fastest way to investigate intermittent bugs that you cannot reproduce on demand.
Cypht ships the Sentry SDK as a required Composer dependency, so composer install already put everything in place.
Reporting stays off until you provide a DSN.
Create a project in GlitchTip, either on the hosted service or on your own instance, and copy the DSN it gives you
into your .env file
#Glitchtip errors capturing
GLITCHTIP_DSN=https://<key>@app.glitchtip.com/<project-id>
GLITCHTIP_TRACES_SAMPLE_RATE=0.01
That is the whole setup. On the next request index.php reads the variable and initialises the client only when it
holds a value :
$glitchtip_dsn = env('GLITCHTIP_DSN', '');

if ($glitchtip_dsn) {
    \Sentry\init([
        'dsn' => $glitchtip_dsn,
        'traces_sample_rate' => env('GLITCHTIP_TRACES_SAMPLE_RATE', 0.01),
    ]);
}
Leave GLITCHTIP_DSN empty and nothing is loaded, so the feature costs nothing when you do not use it.
GLITCHTIP_TRACES_SAMPLE_RATE is the percentage of transaction events sent to GlitchTip, so it governs performance
traces and not errors : 0.01 samples one percent of them. Errors are always reported, whatever this value is. Keep it
low in production to save disk space, and raise it temporarily when you need to profile.
For more details please check the GlitchTip PHP SDK documentation.
Third-Party Integration
Guidelines for integrating third-party libraries and maintaining compatibility with existing integrations.
Adding Third-Party Libraries
- Copy the minified file to the third-party directory
- Add the file path in Hm_Output_page_js.output, or Hm_Output_header_css.output if it is a CSS file
- Finally, add the file in the combine_includes function in scripts/config_gen.php so that it is added when generating the production site
Enable a Module
Edit .env file and add your module to CYPHT_MODULES variable :
CYPHT_MODULES=core,imap,smtp,your_module_nameCreate a Module
In the modules folder, you'll find a hello_world module with the necessary scaffolding for creating a new module. Customize your module by following the code explained above.
The Core Module
The core module provides essential functionality that other modules depend on.
- CSS Headers : Renders CSS headers and stylesheets
- Alert Messages : Displays system alerts and notifications
- JavaScript Loading : Loads JS files and defines shared functions
- Basic Features : Configures backups, server pages, settings, etc.
Practical Example 1 : Add a Test Page
Let's build a complete page step by step, from the route to a working form, using everything covered above.
Step 1 : Add the page in core/setup.php :
setup_base_page('test');Step 2 : Open the page at ?page=test. The route exists, but the page is not authorized yet, so Cypht answers
"Page Not Found!" :
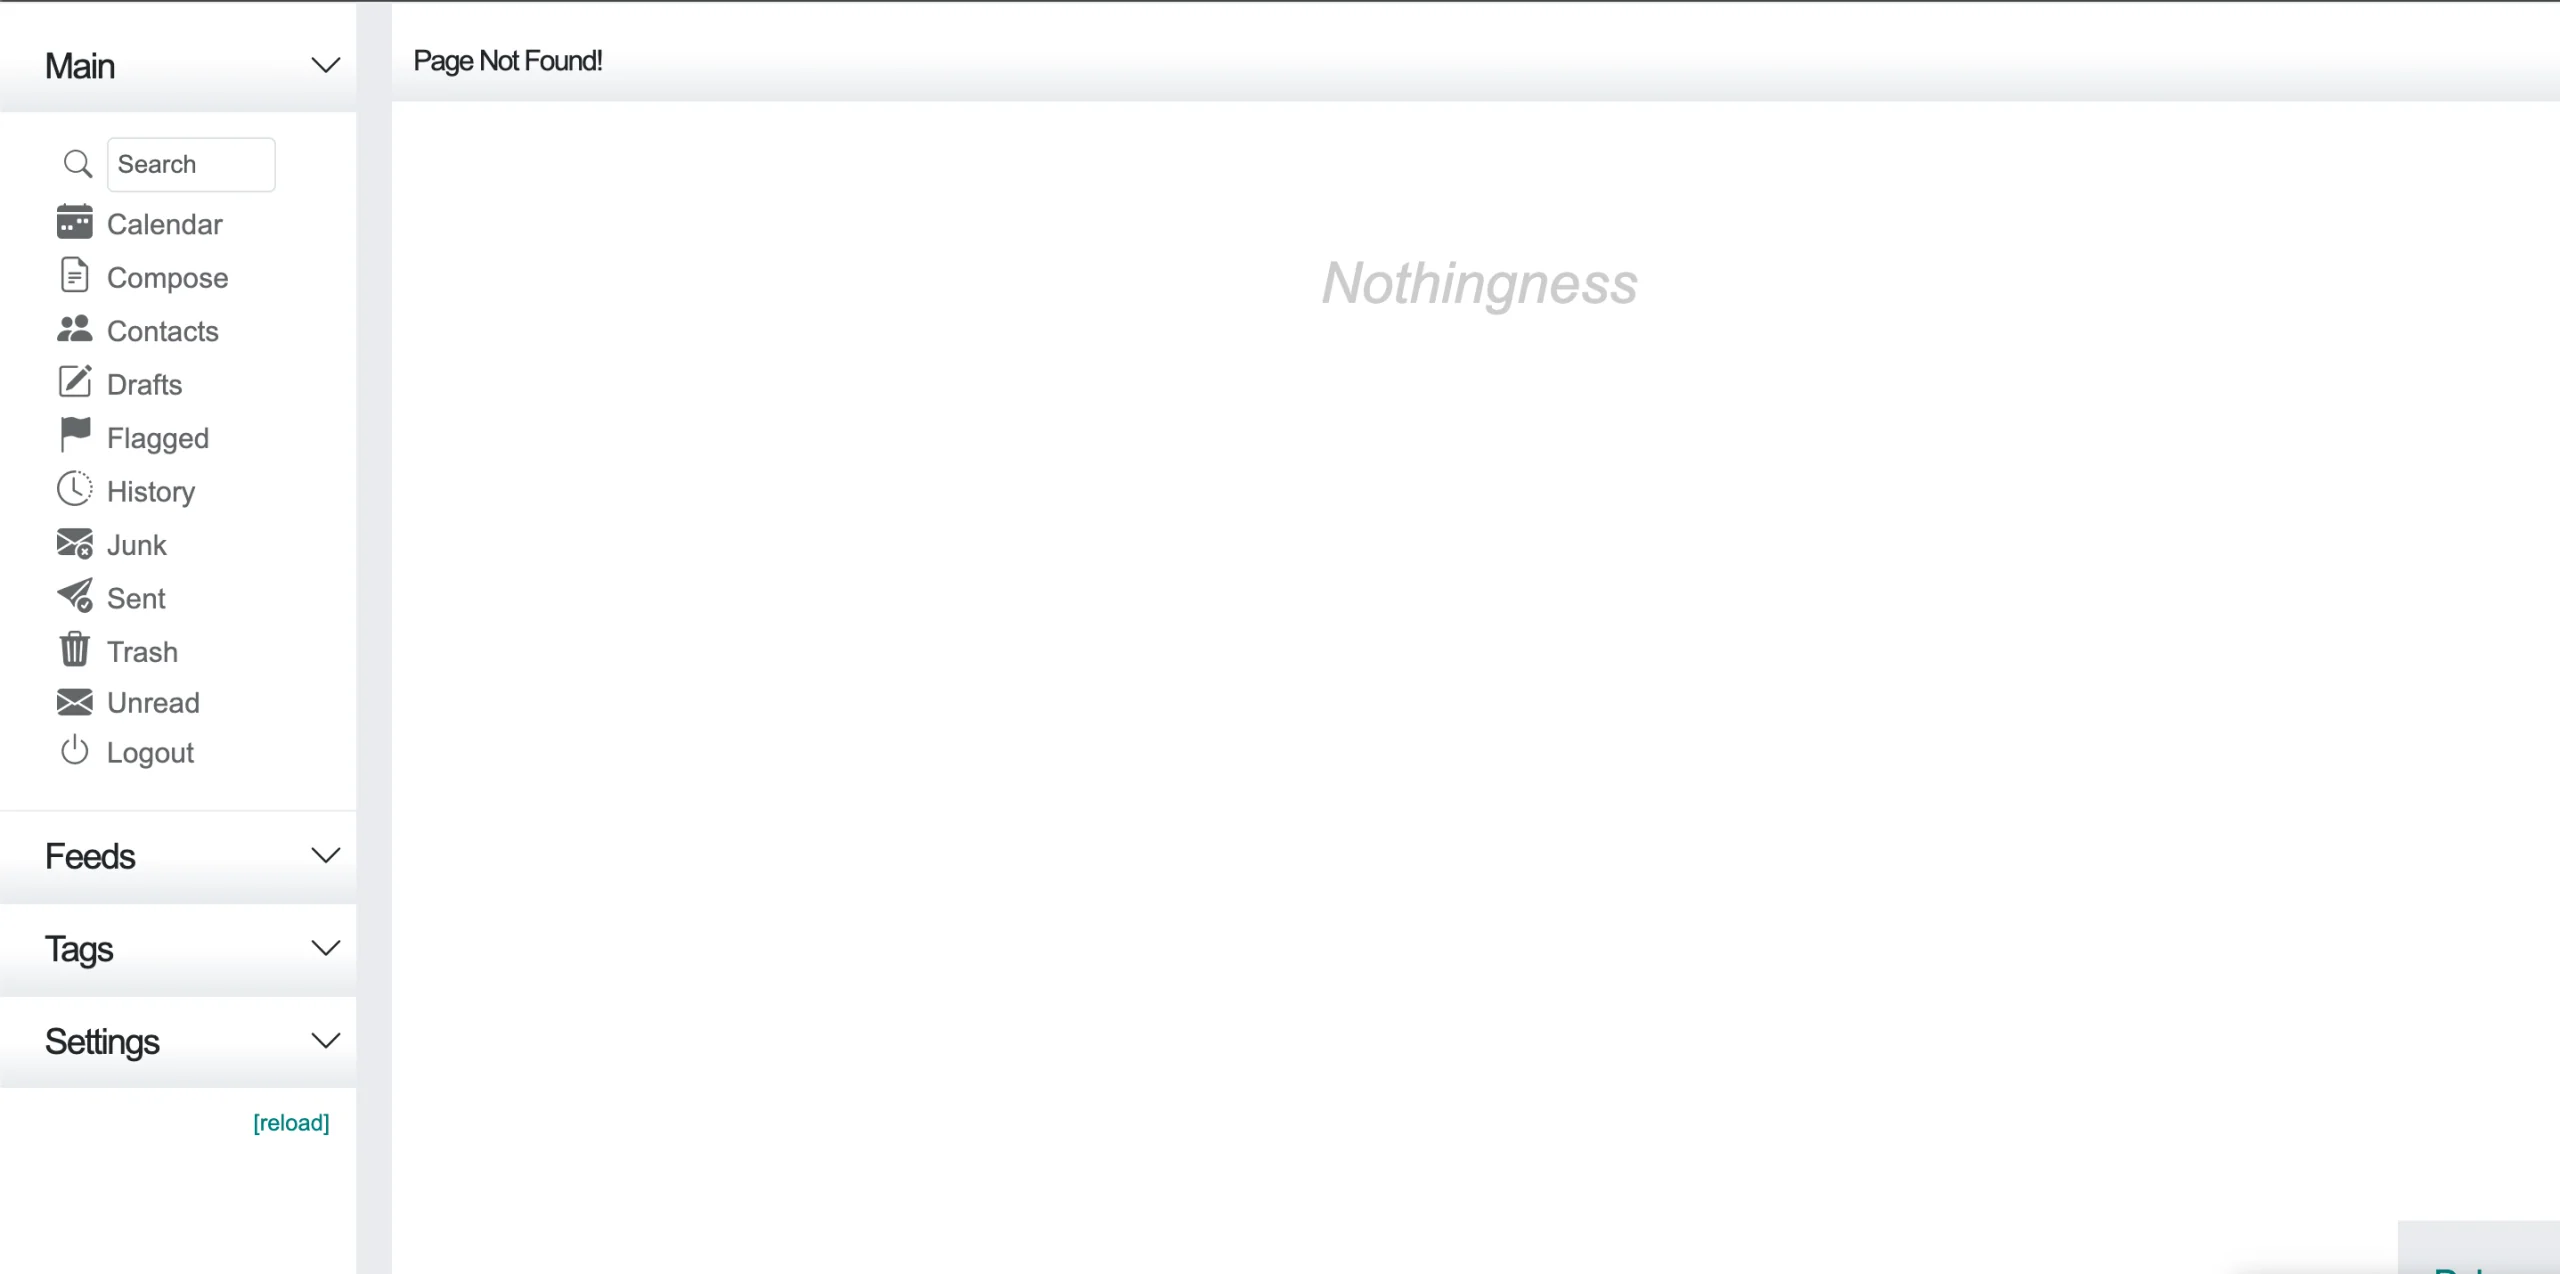
This is expected : every page, form field and output must be explicitly allowed.
Step 3 : Authorize the page in core/setup.php :
return array(
            'allowed_pages' => array(...,'test'),
            'allowed_output' => array(...),
            'allowed_cookie' => array(...),
            'allowed_server' => array(...),
            'allowed_get' => array(...),
            'allowed_post' => array(...)
);
Once the page is authorized we get a blank page, a result at last, even if not the one we are after yet :
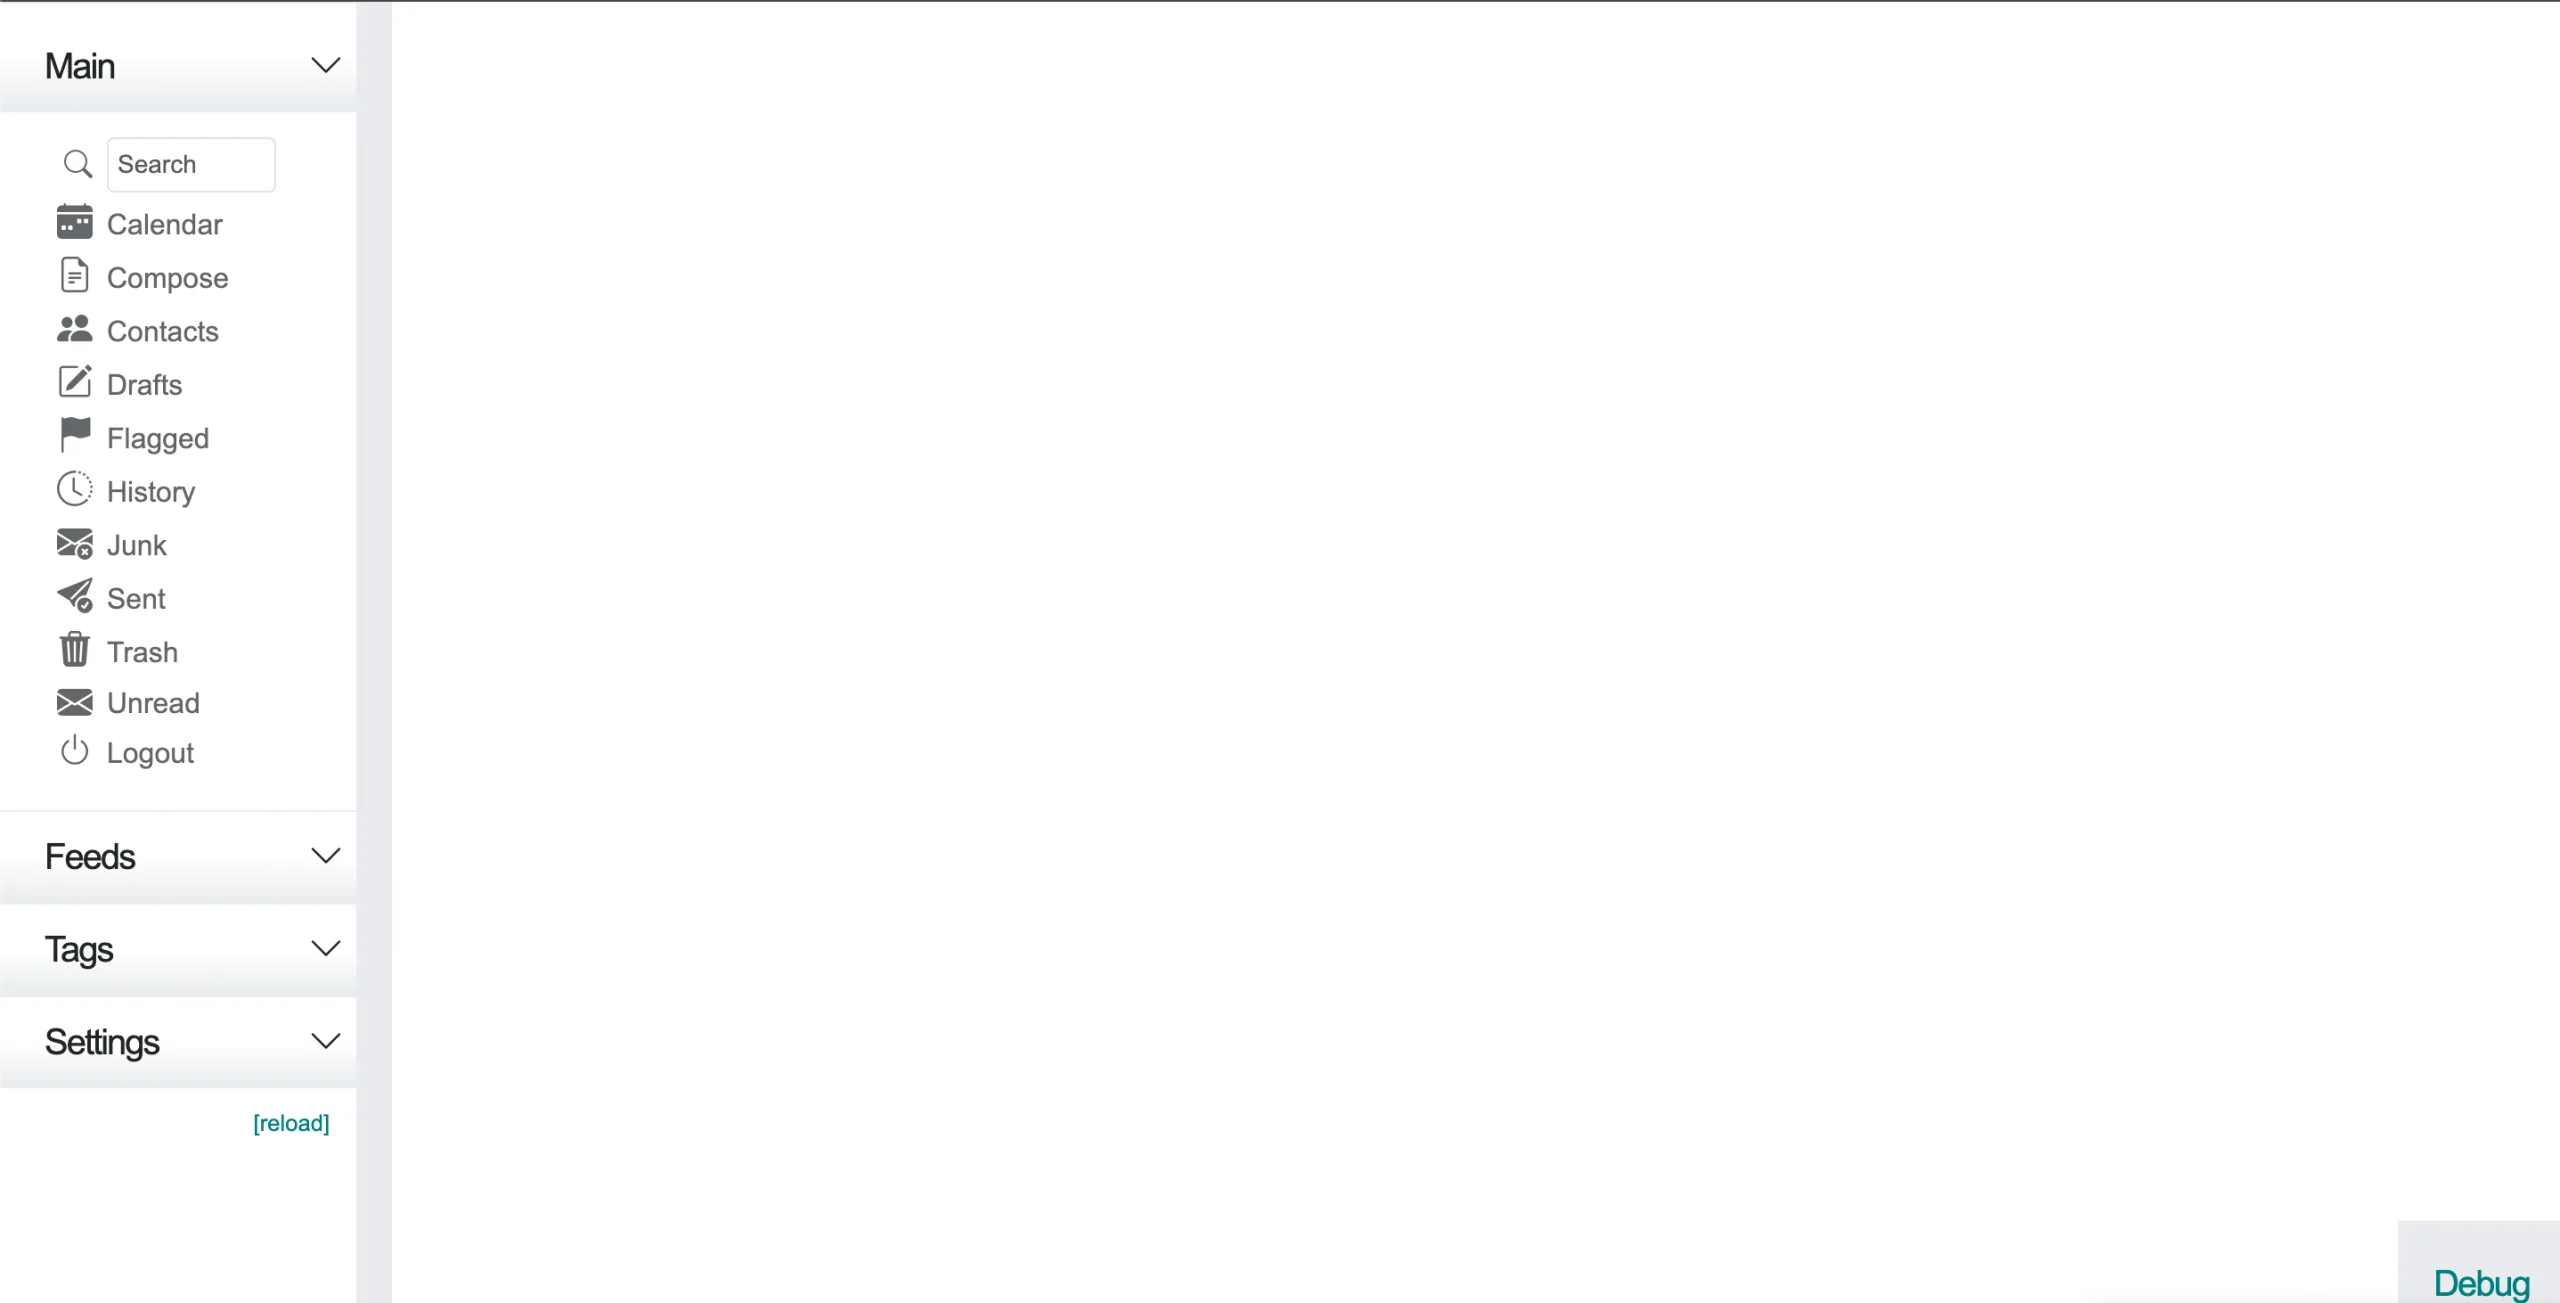
Step 4 : Add content with outputs in core/setup.php :
add_output('test', 'test_heading', true, 'core', 'content_section_start', 'after');Step 5 : Define the output class in core/modules.php :
class Hm_Output_test_heading extends Hm_Output_Module {
    protected function output() {
        return '<div class="content_title">'.$this->trans('Test').'</div>';
    }
}
And here is the result : the "Test" title now shows in the page header.
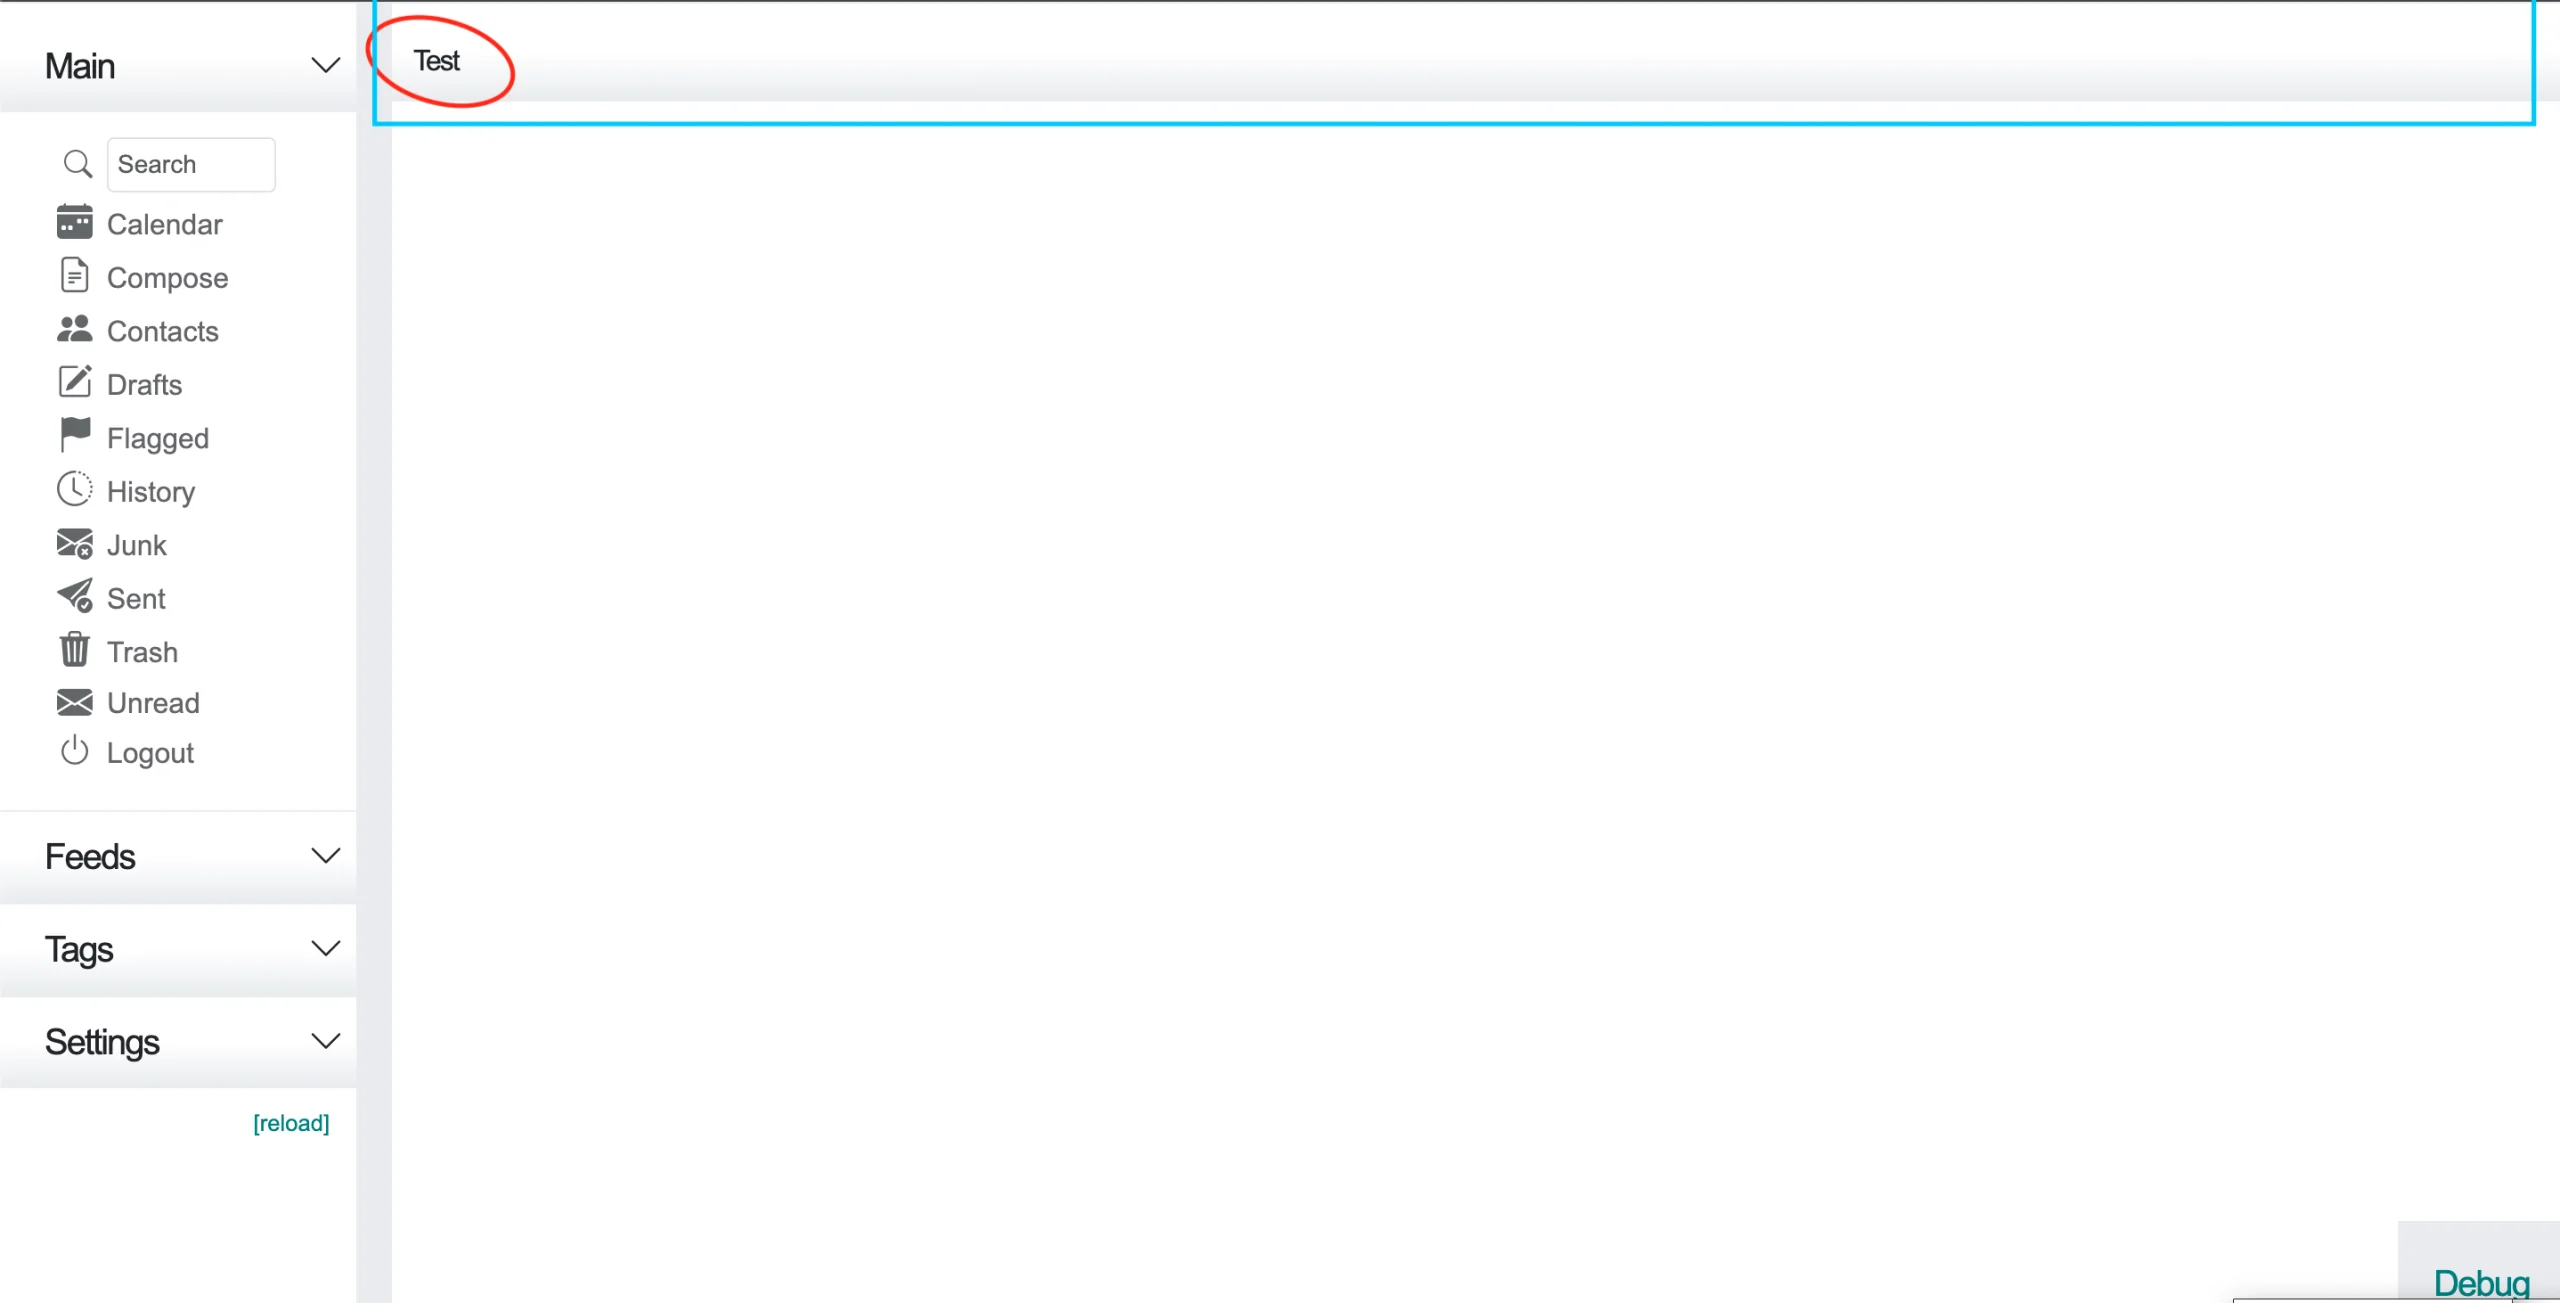
Step 6 : Add more content with additional outputs :
add_output('test', 'test_first_div', true, 'core', 'test_heading', 'after');class Hm_Output_test_first_div extends Hm_Output_Module {
protected function output() {
return '<div class="mt-3 col-lg-6 col-md-12 col-sm-12">
<div class="card">
<div class="card-body">
<div class="card_title">
<h4>'.$this->trans('Test').'</h4>
</div>
'.$this->trans('We are just testing').'
</div>
</div>
</div>';
}
}And here is the result we hope for, a first card right below the header :
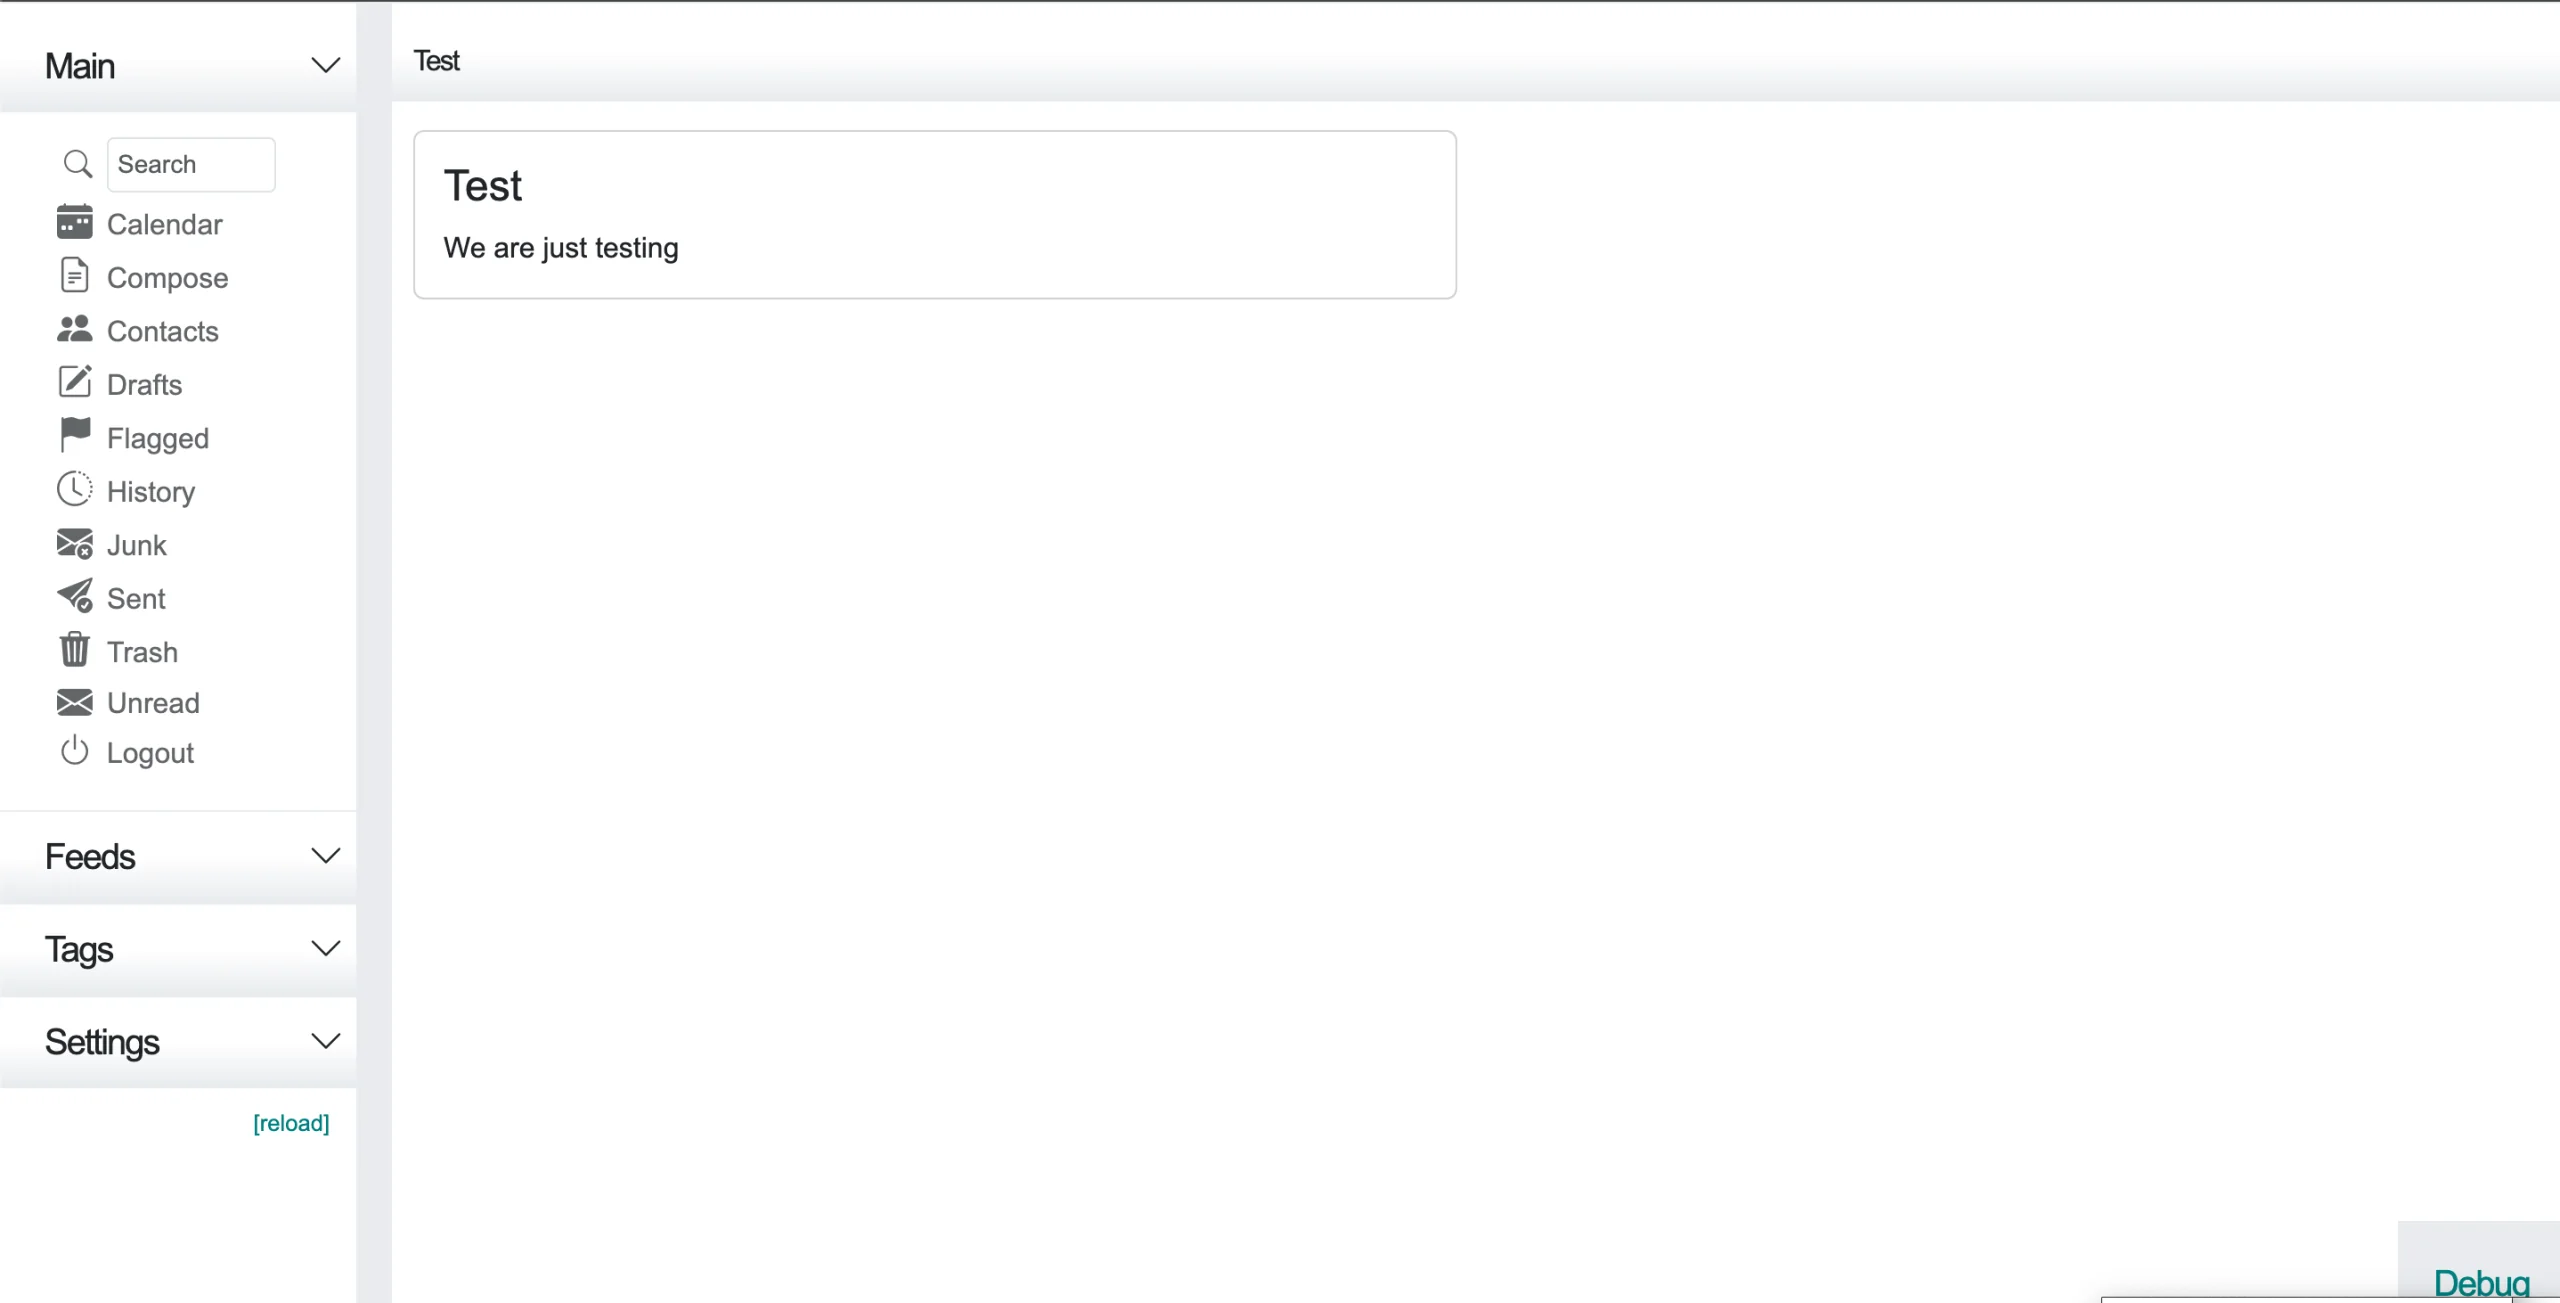
Step 7 : Add a second card after the first one :
add_output('test', 'test_second_div', true, 'core', 'test_first_div', 'after');

class Hm_Output_test_second_div extends Hm_Output_Module {
    protected function output() {
        return '<div class="mt-3 col-lg-6 col-md-12 col-sm-12">
            <div class="card">
                <div class="card-body">
                    <div class="card_title">
                        <h4>'.$this->trans('Test again').'</h4>
                    </div>
                    '.$this->trans('We are again just testing').'
                </div>
            </div>
        </div>';
    }
}
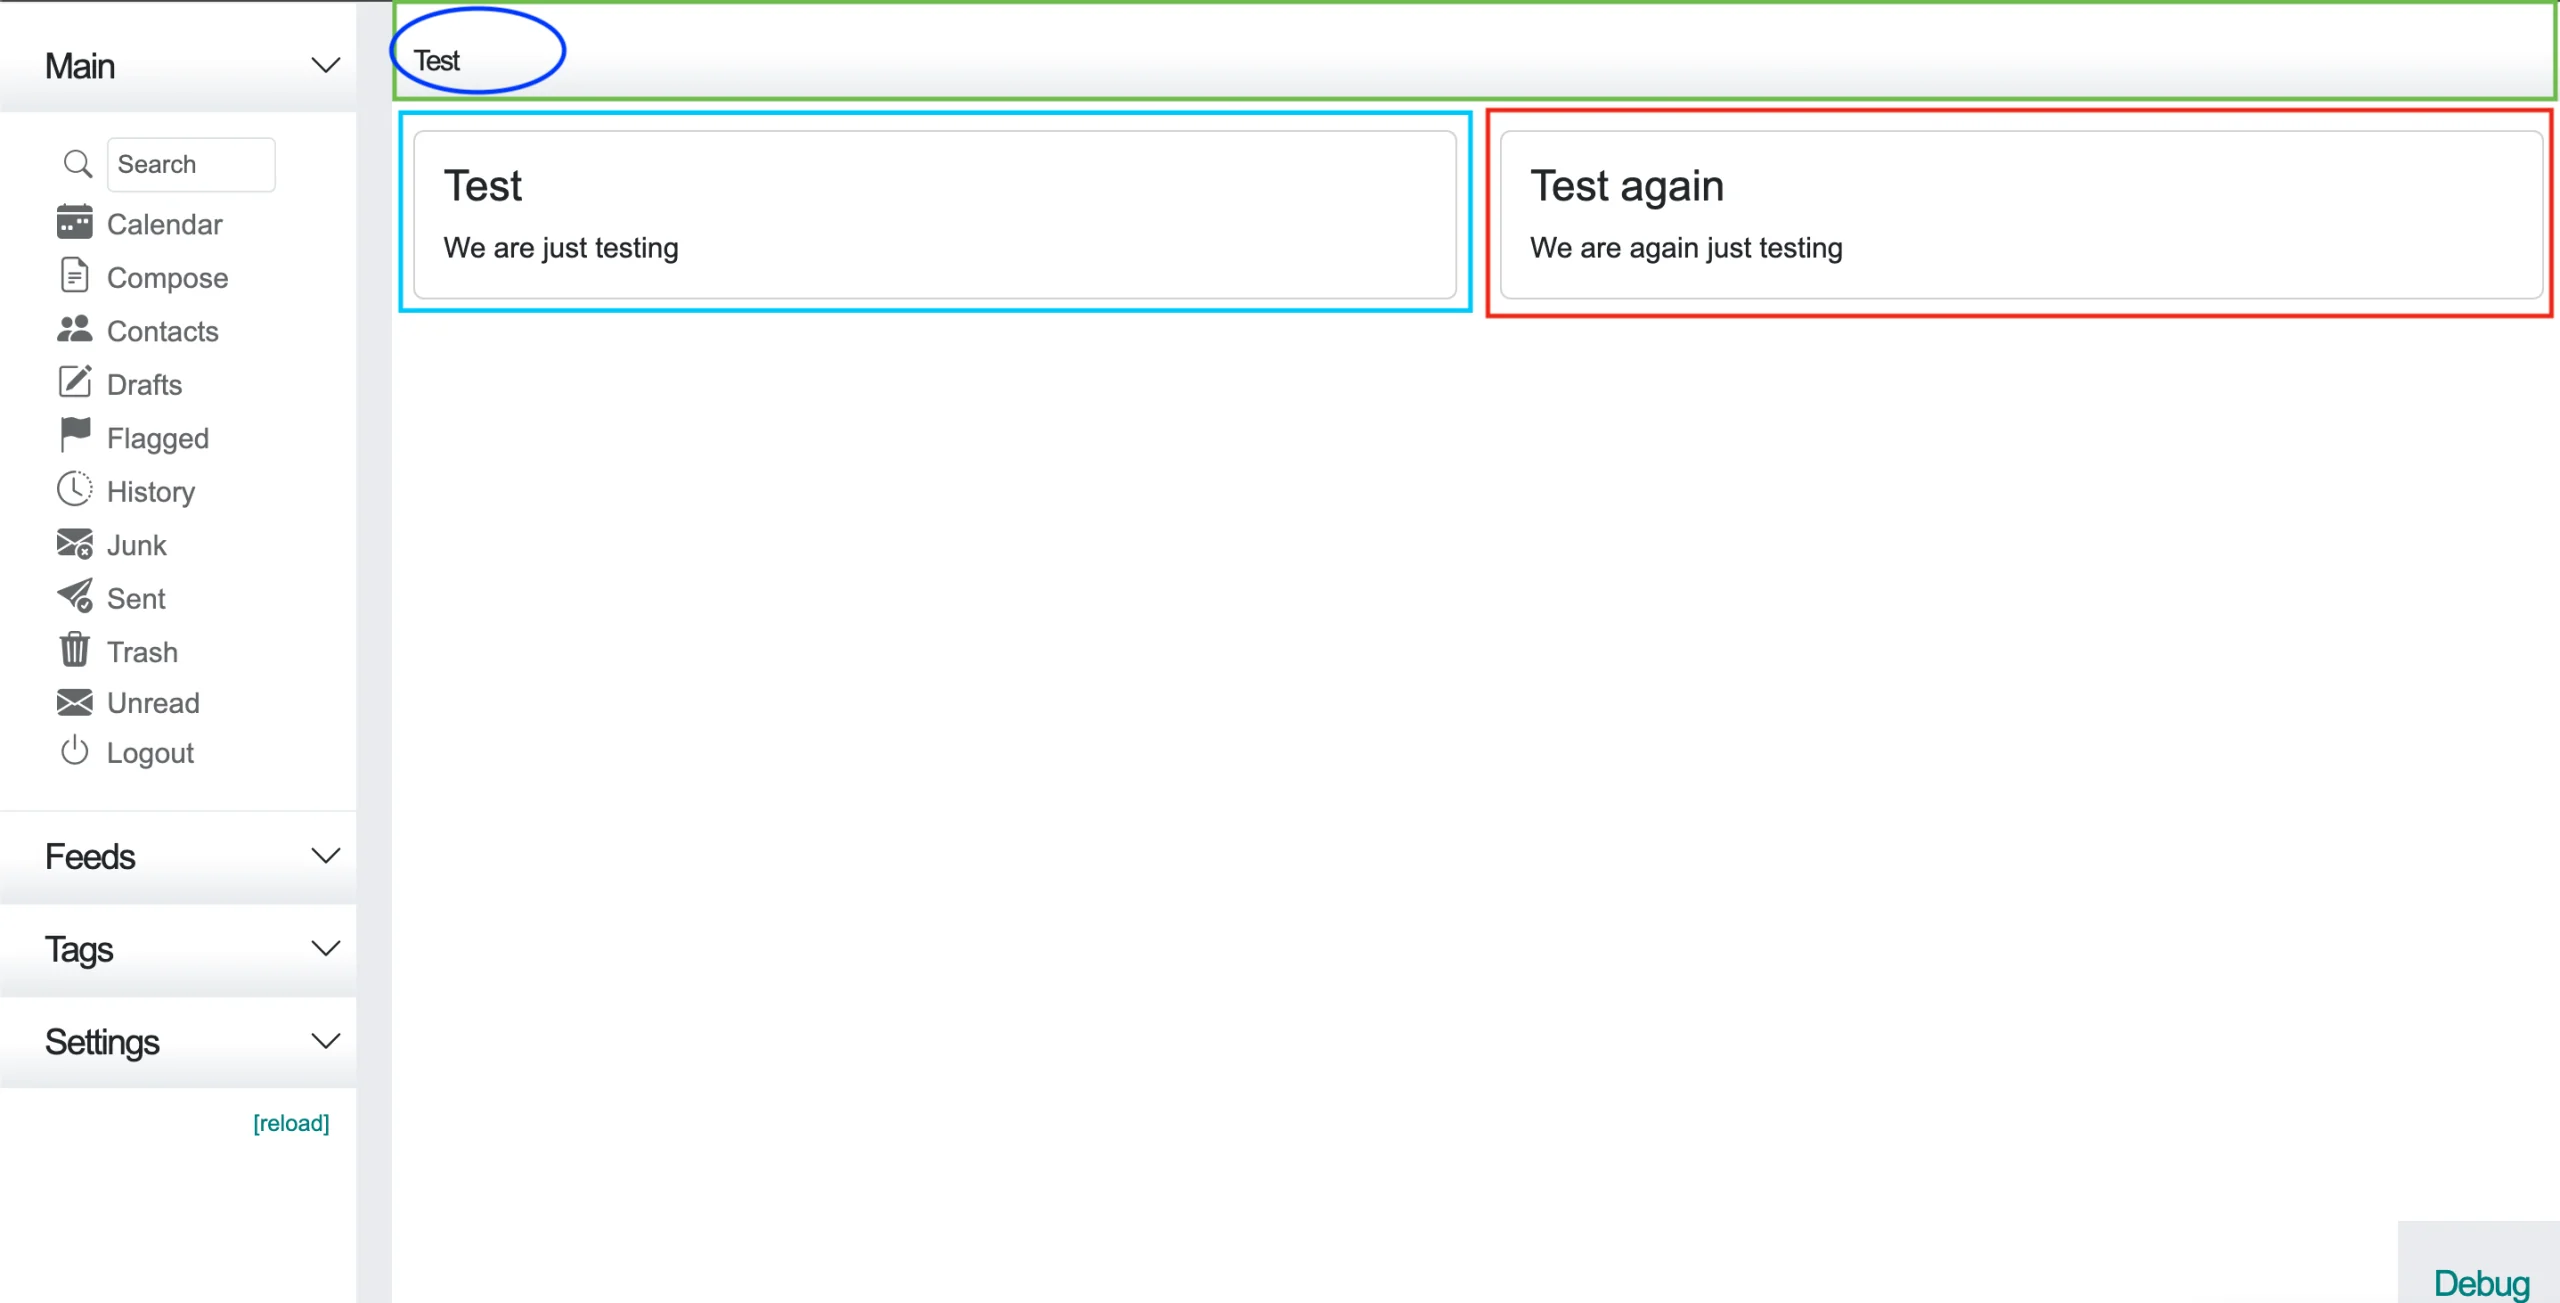
And here is the result : the two cards sit side by side.
Handlers : Processing a Form
Outputs render HTML; handlers do the backend work (like a controller). Both take similar parameters, but for
handlers the before/after ordering refers to other handlers. Handler classes extend Hm_Handler_Module.
Step 8 : Add a third output containing a form :
add_output('test', 'test_third_div', true, 'core', 'test_second_div', 'after');

class Hm_Output_test_third_div extends Hm_Output_Module {
    protected function output() {
        return '<div class="nux_help mt-3 col-lg-12">
            <div class="card"><div class="card-body">
                <div class="card_title">
                    <h4>'.$this->trans('Test Our Form').'</h4>
                </div>

                <form class="add_server me-0" method="POST" action="?page=test">
                    <input type="hidden" name="hm_page_key"
                       value="'.$this->html_safe(Hm_Request_Key::generate()).'" />
                    <div class="form-floating mb-3">
                        <input required type="text" id="new_tag_name" name="new_tag_name"
                            class="txt_fld form-control" placeholder="'.$this->trans('Tag name').'" />
                        <label for="new_tag_name">'.$this->trans('Tag name').'</label>
                    </div>
                    <input type="submit" class="btn btn-primary px-5"
                       value="'.$this->trans('Add').'" name="submit_tag" />
                </form>
            </div>
         </div>';
    }
}
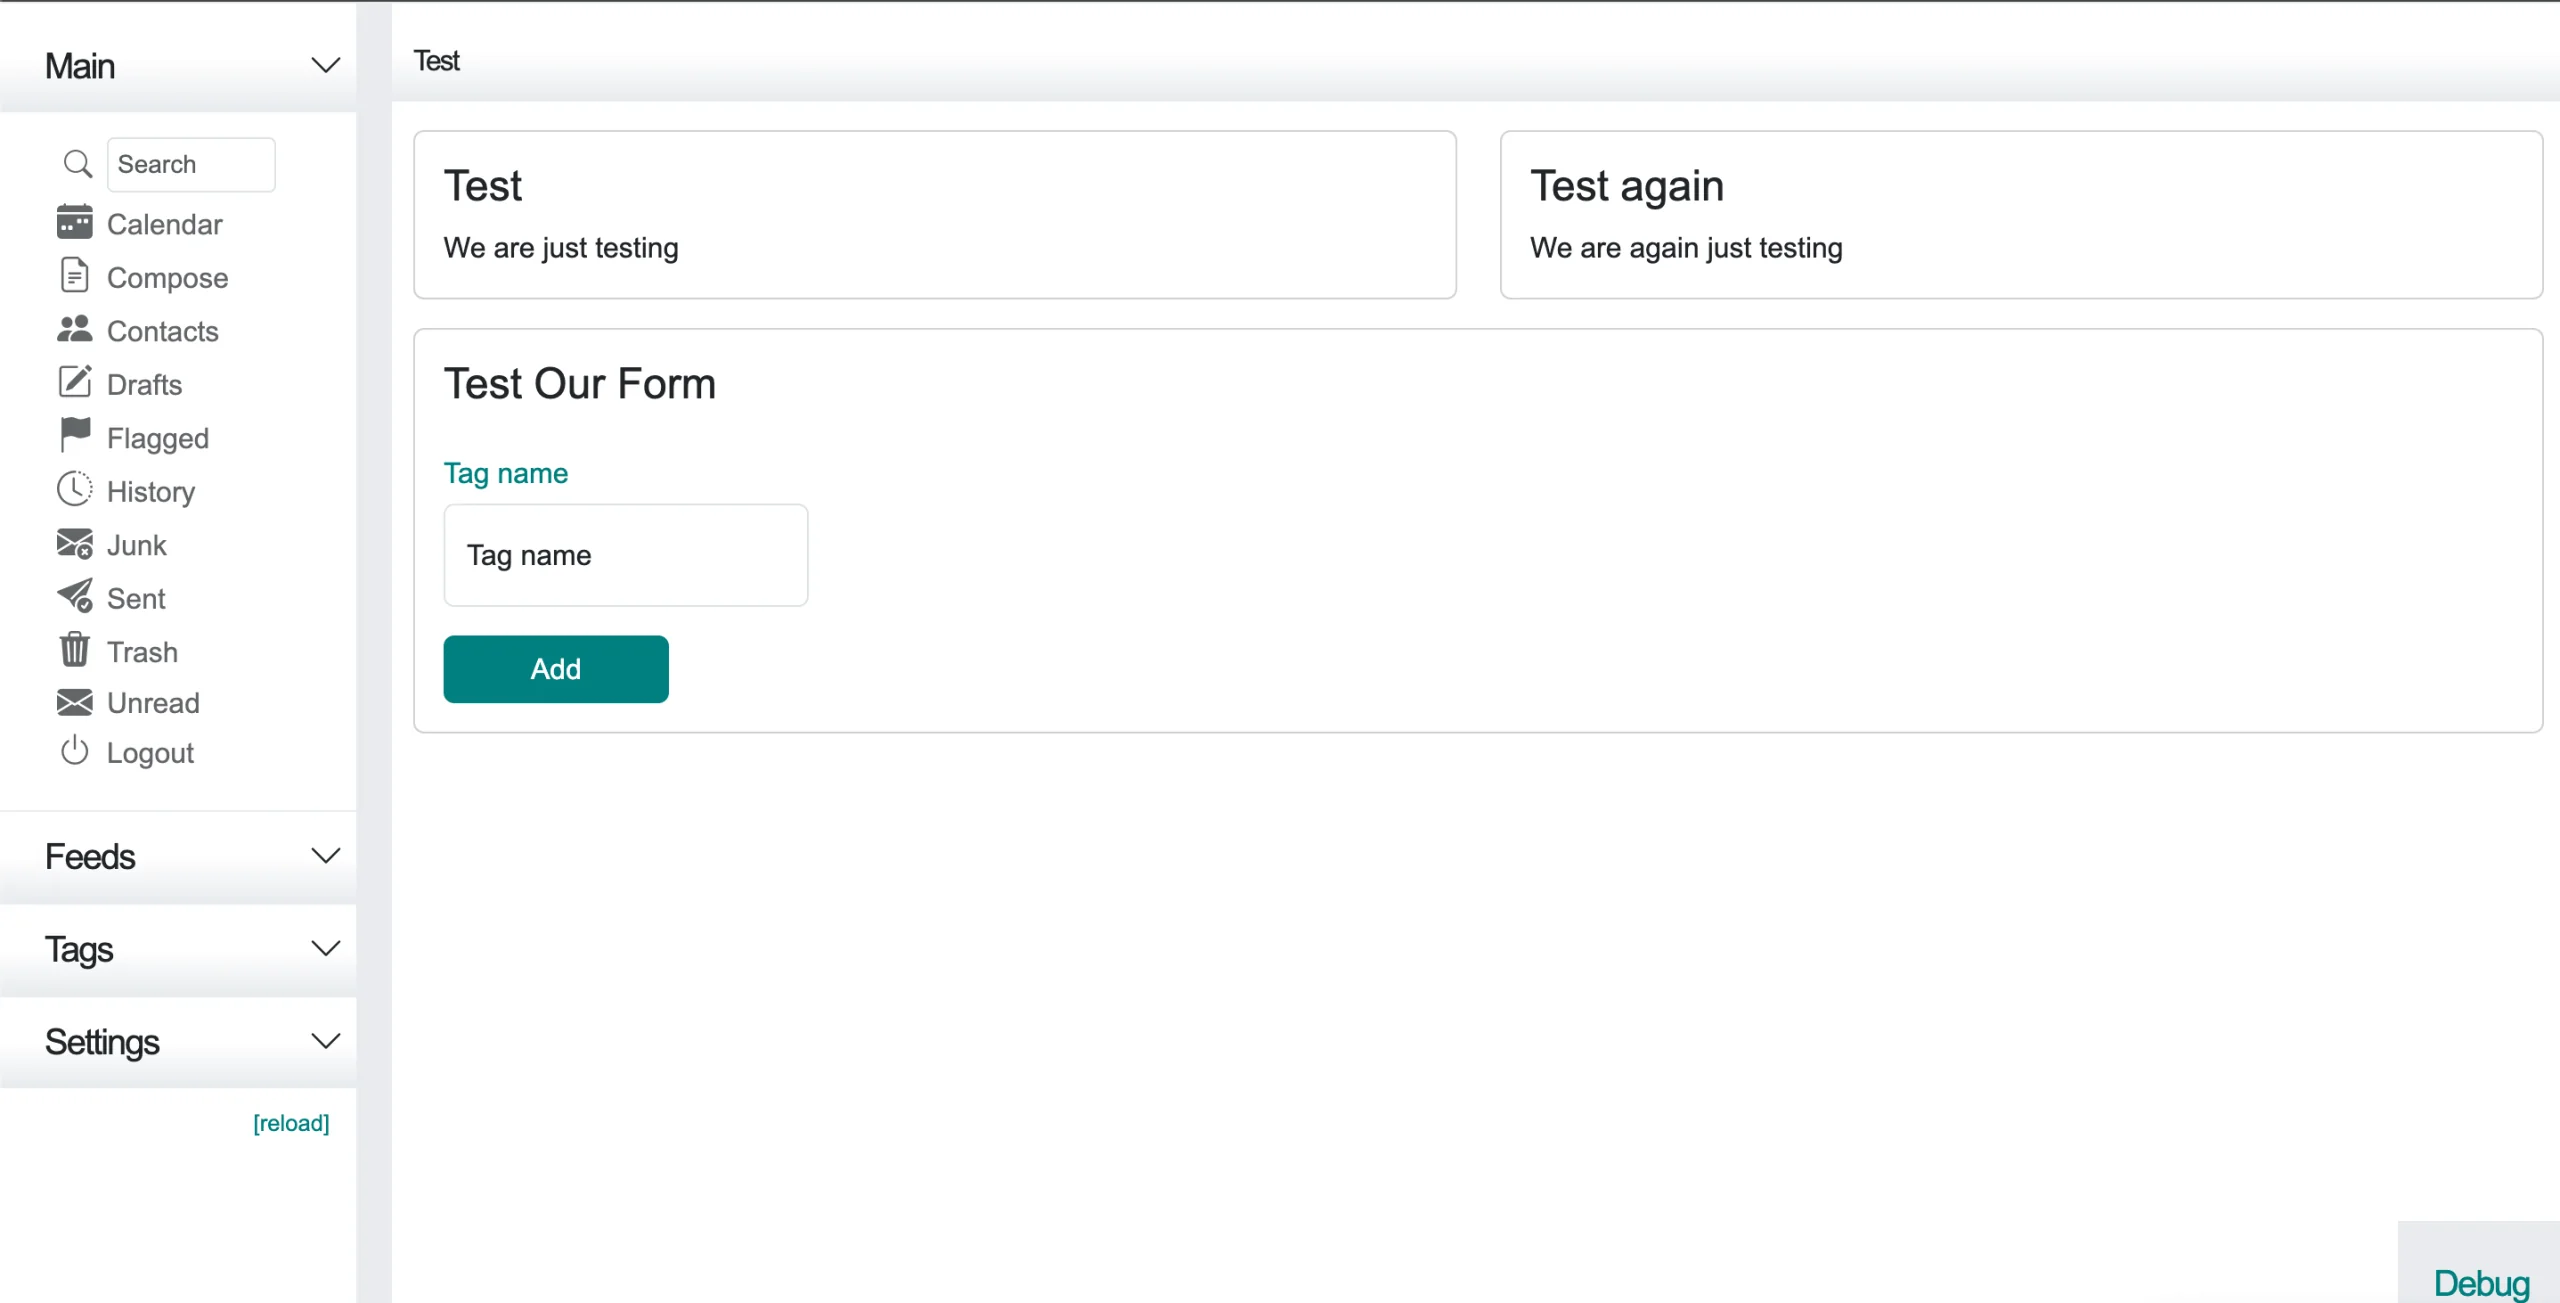
Here is the result : the form card is added below the two previous cards.
Step 9 : Authorize the form field in allowed_post (otherwise it is discarded), then register and define the
handler :
// core/setup.php
'allowed_post' => array(
    ...
    'new_tag_name' => FILTER_DEFAULT
);

//
add_handler('test', 'process_test_third_div', true, 'core','load_user_data'
, 'after');
// core/handler_modules.php
class Hm_Handler_process_test_third_div extends Hm_Handler_Module {
public function process() {
list($success, $form) = $this->process_form(array('new_tag_name'));
if ($success && $form['new_tag_name']) {
// do something with $form['new_tag_name']
}
}
}Using Sessions
To carry data between requests, for example to show the submitted value back as the field label, use the session. Store it in the processing handler :
$this->session->set('tag_name', $form['new_tag_name']);Read it back in a second handler placed after the one that stored it, pass it to the output with $this->out(),
then clear it :
// core/setup.php
add_handler('test', 'get_test_third_div', true, 'core', 'load_user_data', 'after');

// core/handler_modules.php
class Hm_Handler_get_test_third_div extends Hm_Handler_Module {
    public function process() {
        $res = $this->session->get('tag_name', 'Tag name');
        $this->out('tag_name', $res);
        $this->session->del('tag_name'); // no longer needed
    }
}
Finally, read it in the output with $this->get('tag_name') and use it as the field label :
class Hm_Output_test_third_div extends Hm_Output_Module {
    protected function output() {
        $tag_name = $this->get('tag_name');
        // ...use $tag_name as the <label> and subtitle text...
    }
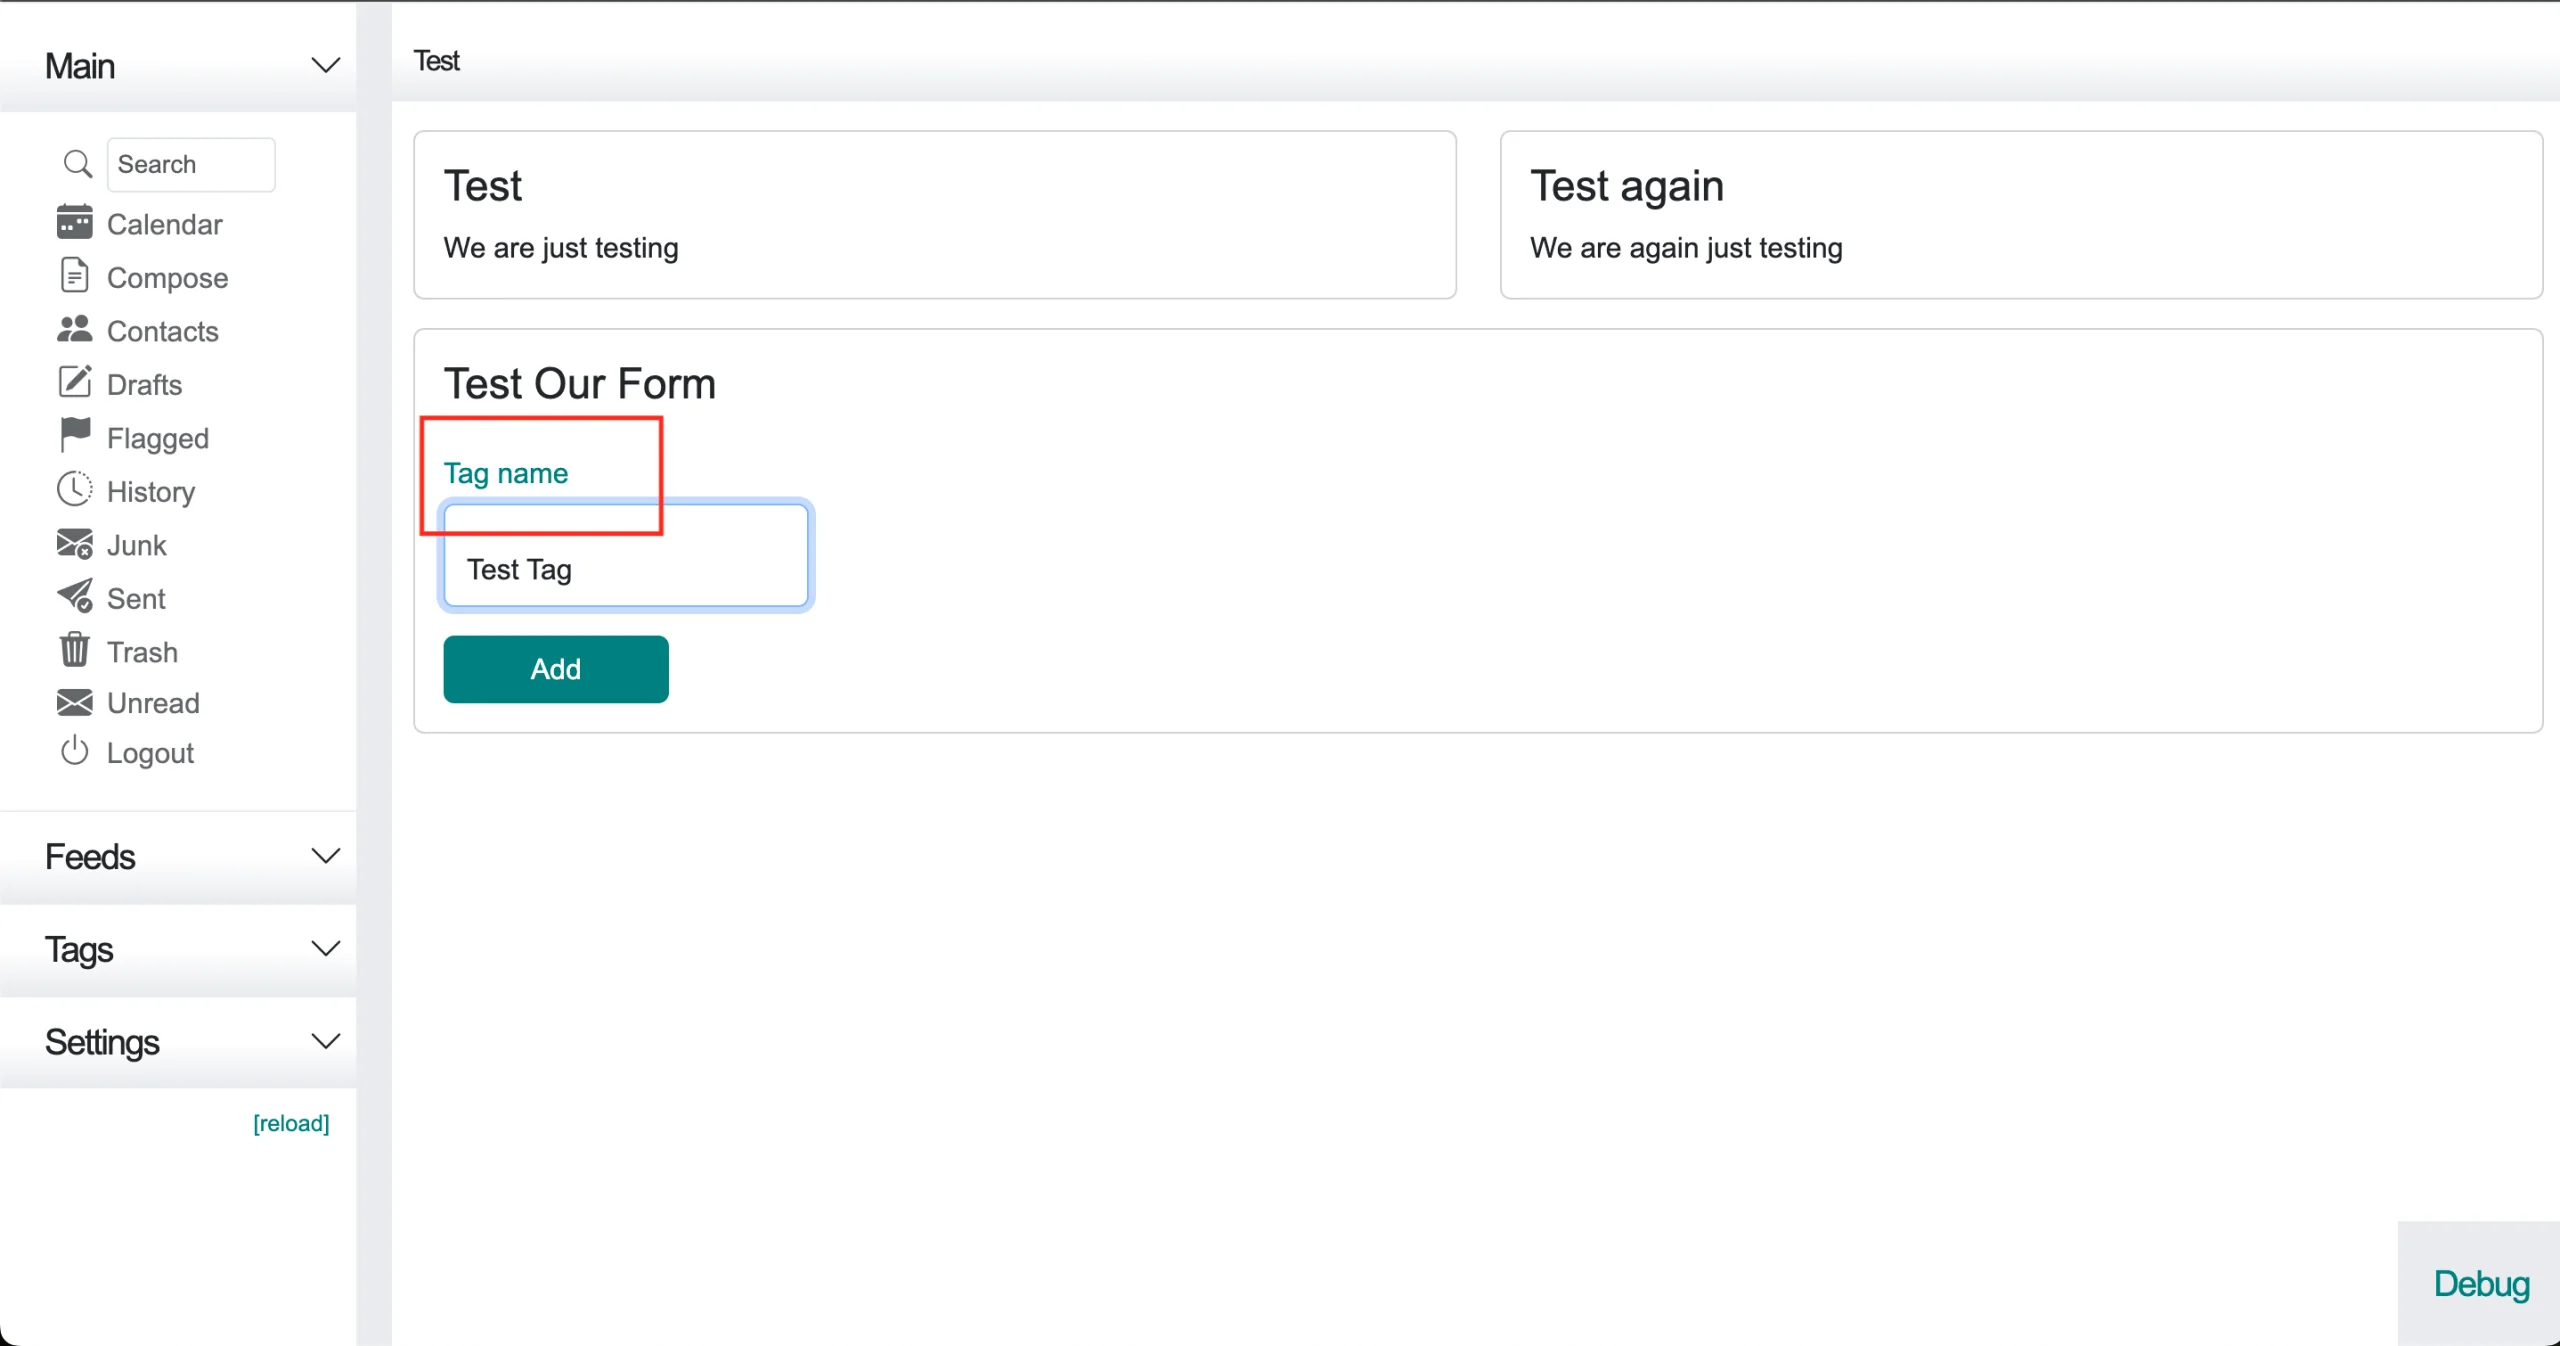
}Result before, the label is the static "Tag name" string :
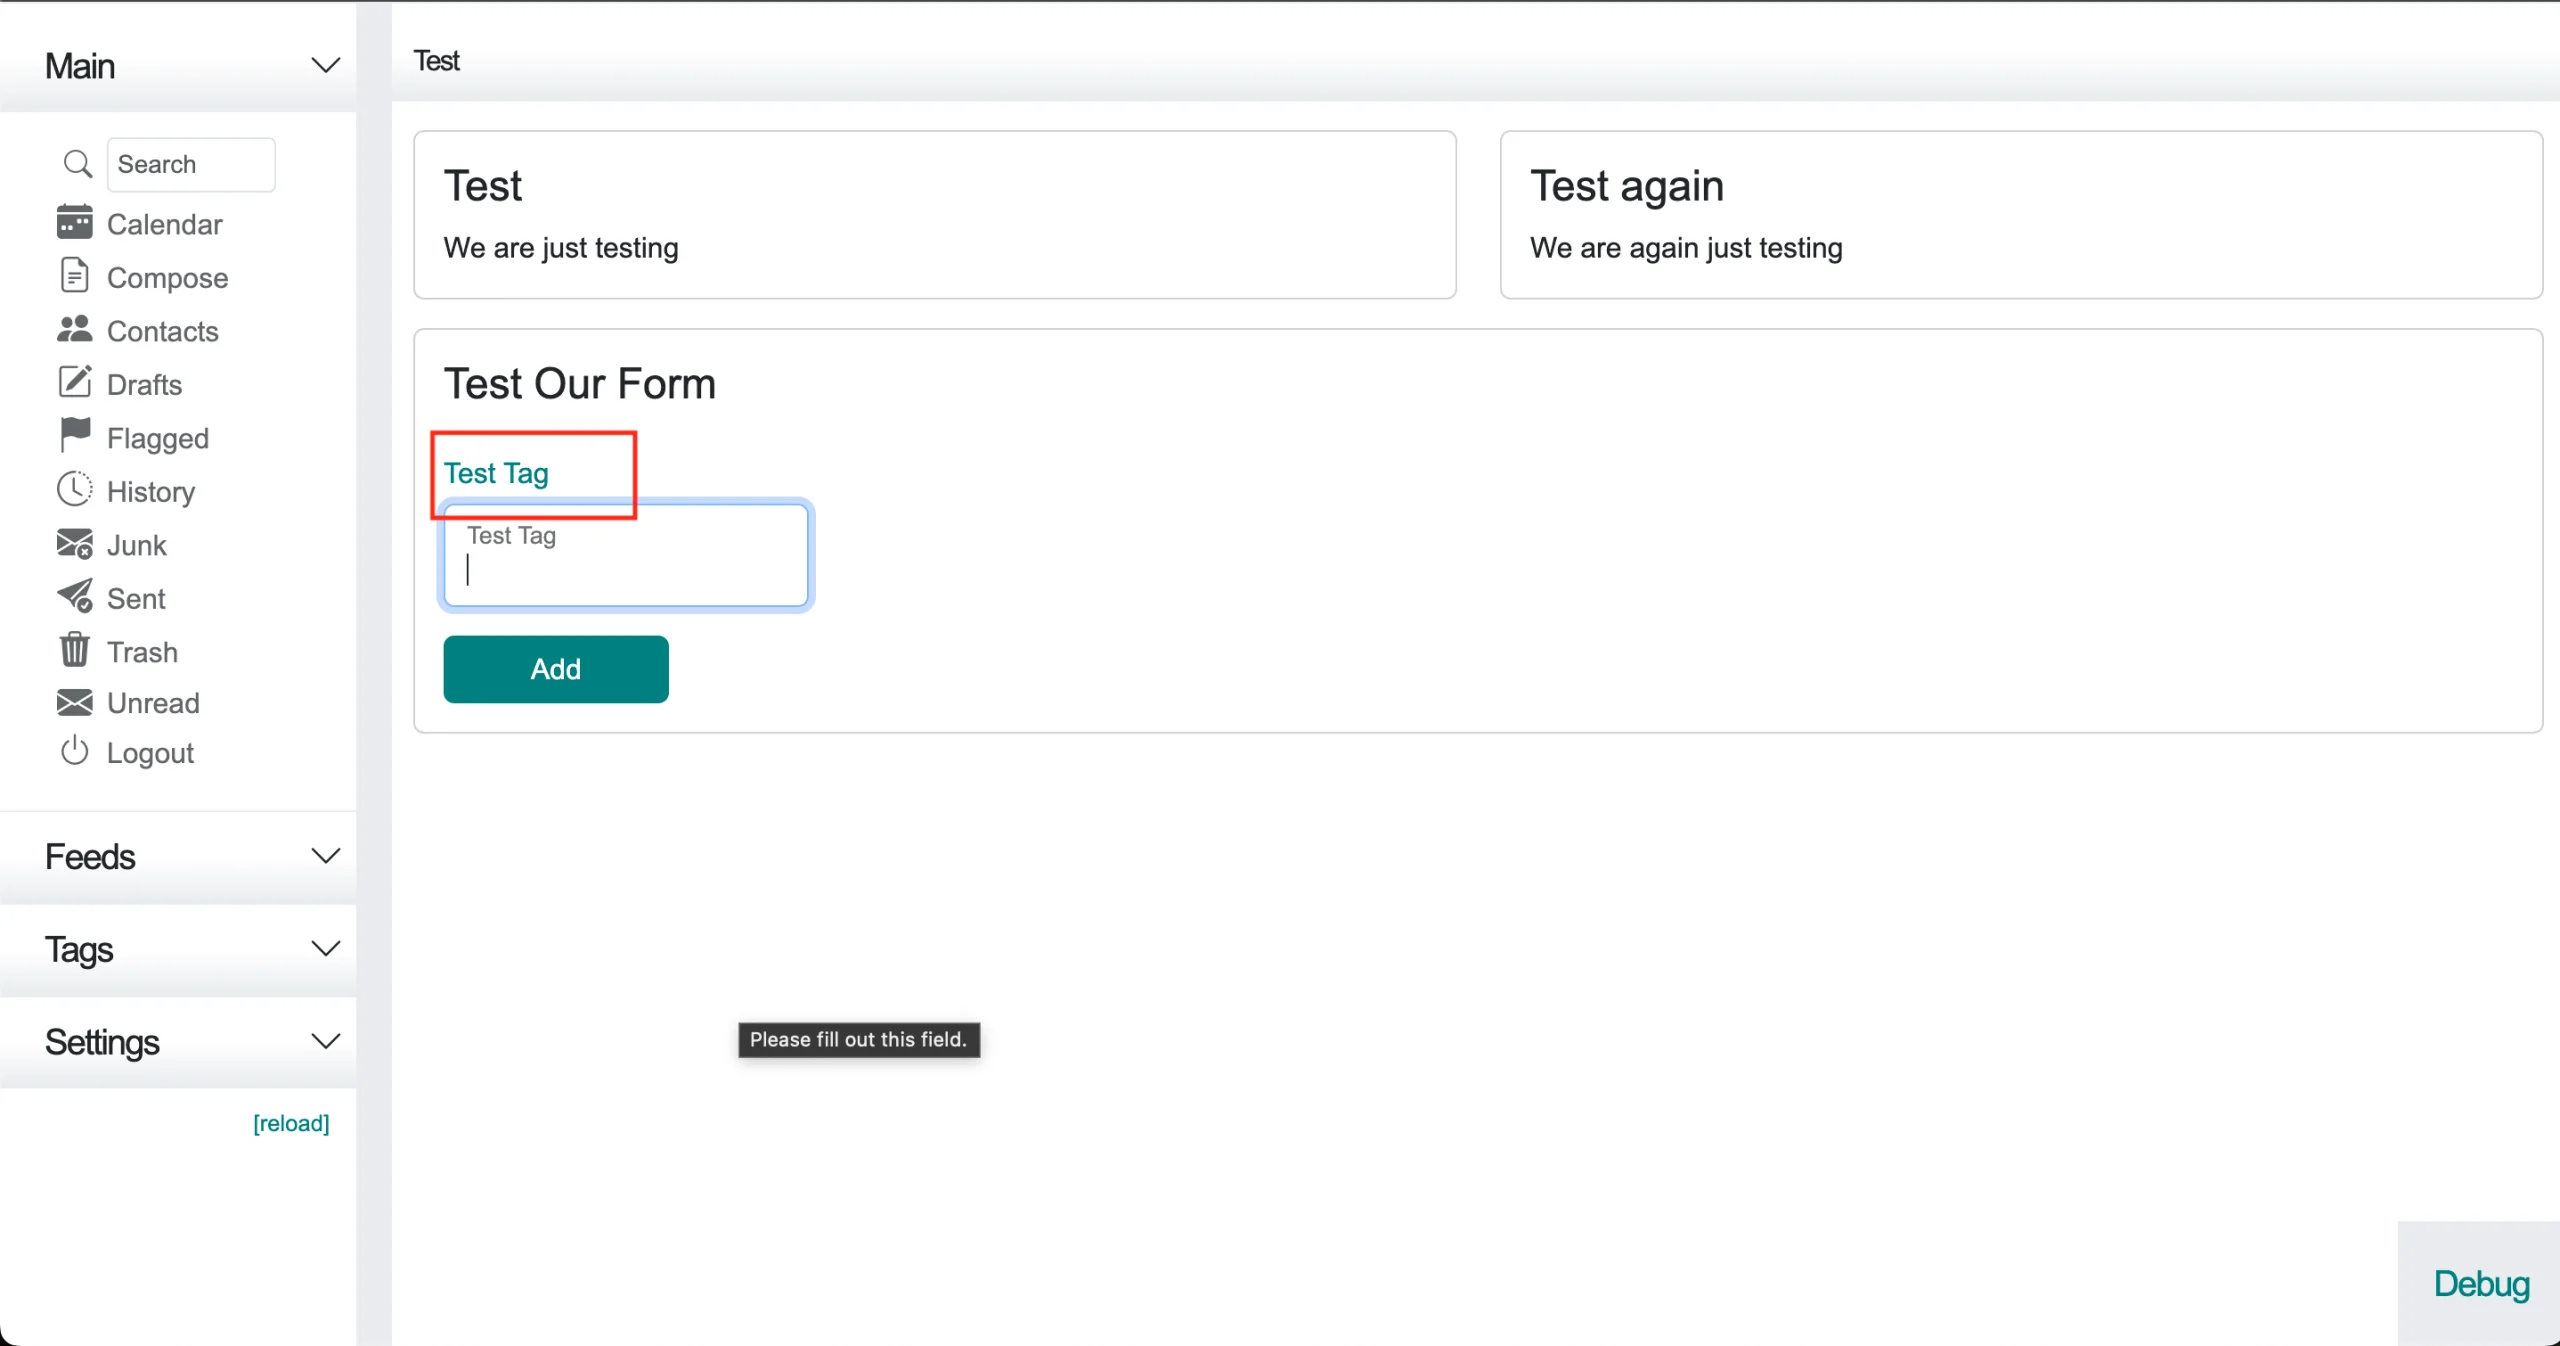
Result after, the label and subtitle now show the value submitted on the previous request :
Practical Example 2 : Adding Settings
Settings are added the same way as page content, with a handler (to save the value) and an output (to render the control). Let's add a single setting first, then a whole settings section.
A Single Setting
We will add our checkbox right after the built-in "Default message sort order" setting :
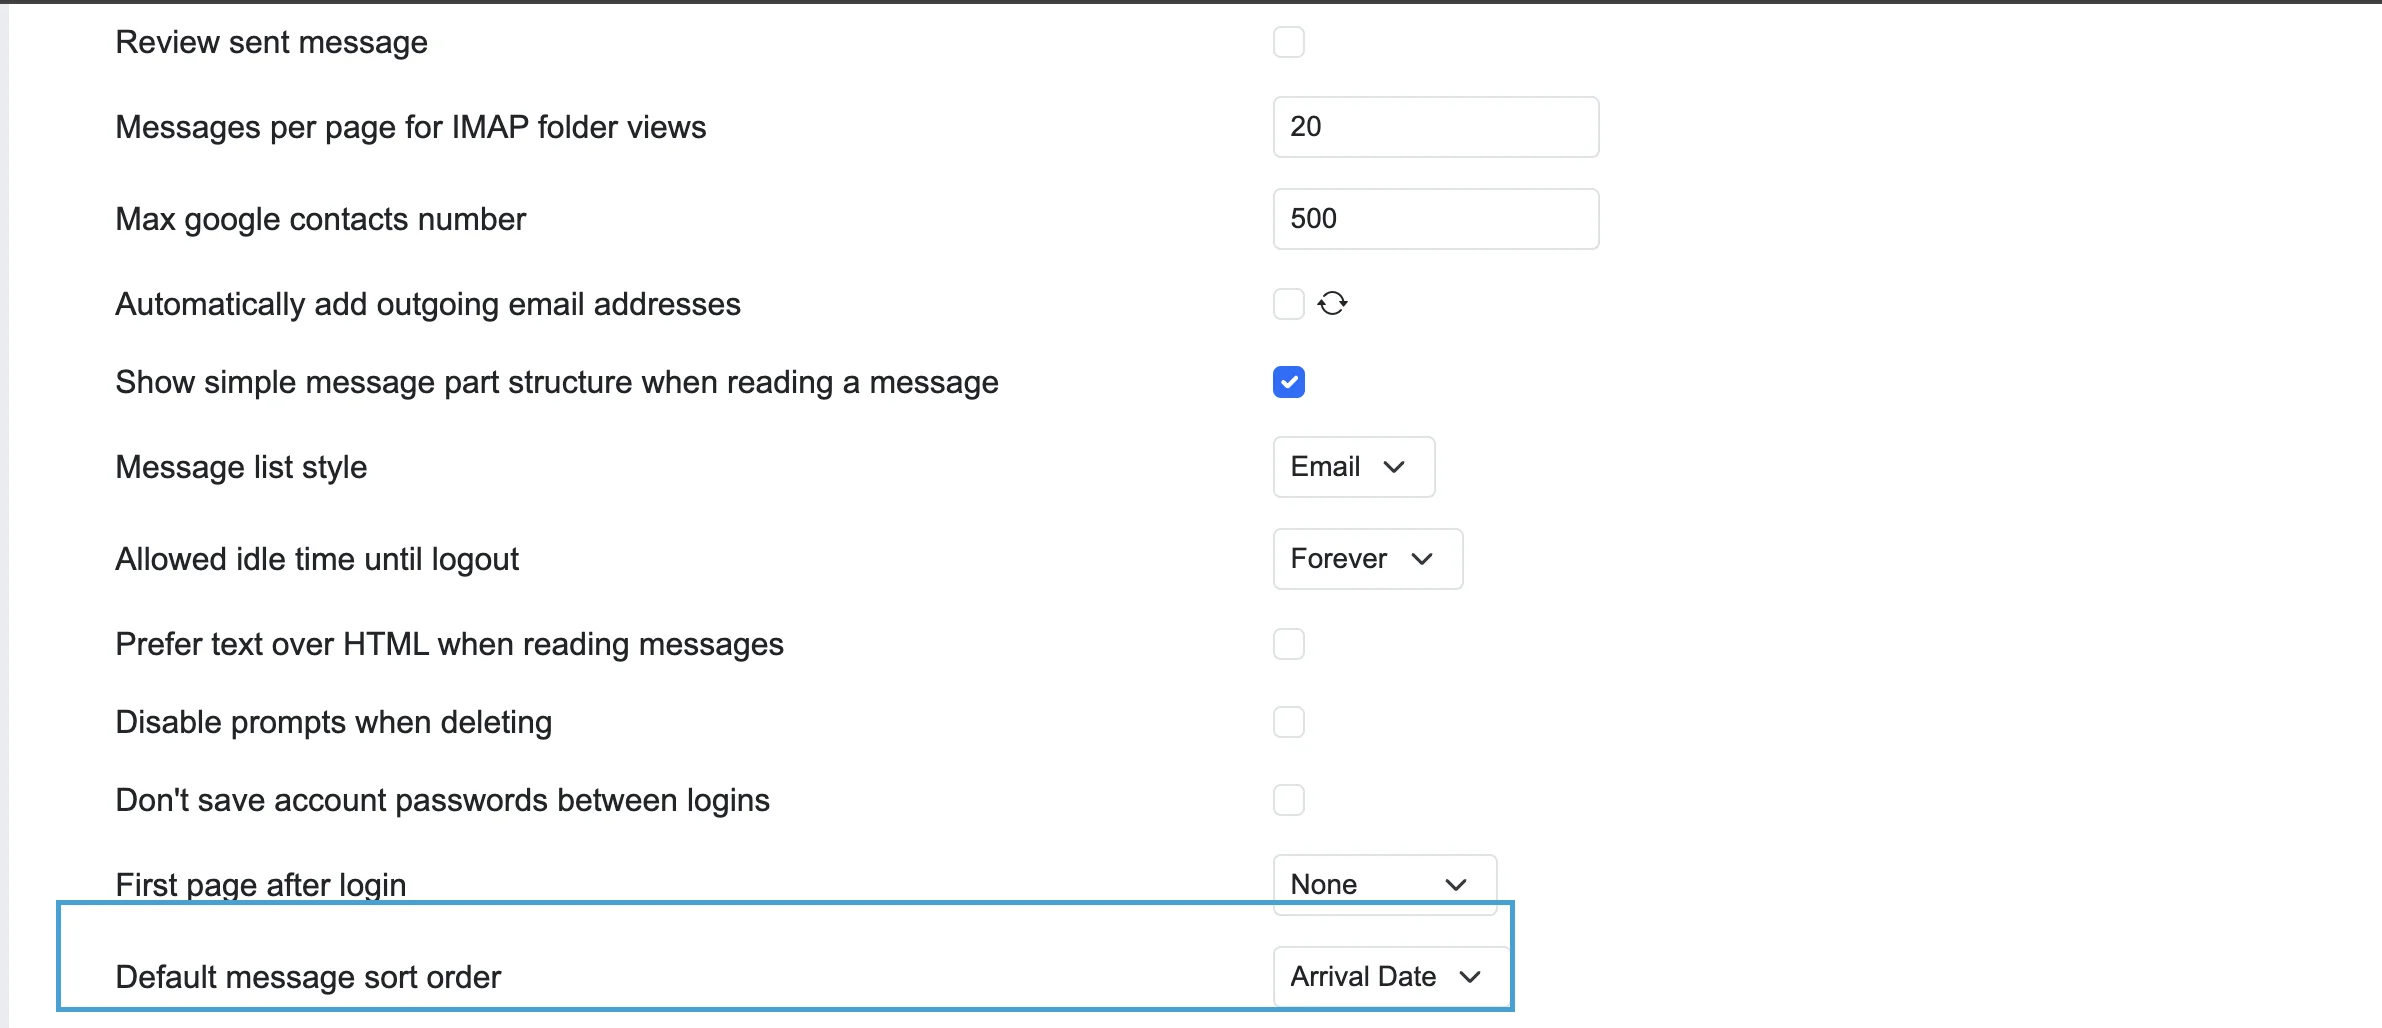
Register a handler and an output in the settings page :
//
add_handler('settings', 'process_test_enable_tag_with_parent', true,
 'tags', 'save_user_settings', 'before');

//
add_output('settings', 'test_enable_tag_with_parent_setting', true,
'tags', 'default_sort_order_setting', 'after');
The handler must run before save_user_settings so the value is persisted with the rest of the settings.
// tags/modules.php  (handler)
class Hm_Handler_process_test_enable_tag_with_parent_setting
extends Hm_Handler_Module {
    public function process() {
        function test_tag_with_parent_enabled_callback($val) { return $val; }
        process_site_setting('test_enable_tag_with_parent',
        $this, 'test_tag_with_parent_enabled_callback', true, true);
    }
}
// tags/modules.php (output)
class Hm_Output_test_enable_tag_with_parent_setting extends Hm_Output_Module {
protected function output() {
$settings = $this->get('user_settings');
$checked = (array_key_exists('test_enable_tag_with_parent', $settings)
&& $settings['test_enable_tag_with_parent'])
? ' checked="checked"' : '';
return '<tr class="general_setting"><td><label class="form-check-label" for="test_enable_tag_with_parent">'.
$this->trans('Test Tag enable parent').'</label></td>'.
'<td><input class="form-check-input" type="checkbox"'.$checked.
' value="1" id="test_enable_tag_with_parent" name="test_enable_tag_with_parent" /></td></tr>';
}
}You can now refresh the settings page to see the new checkbox :
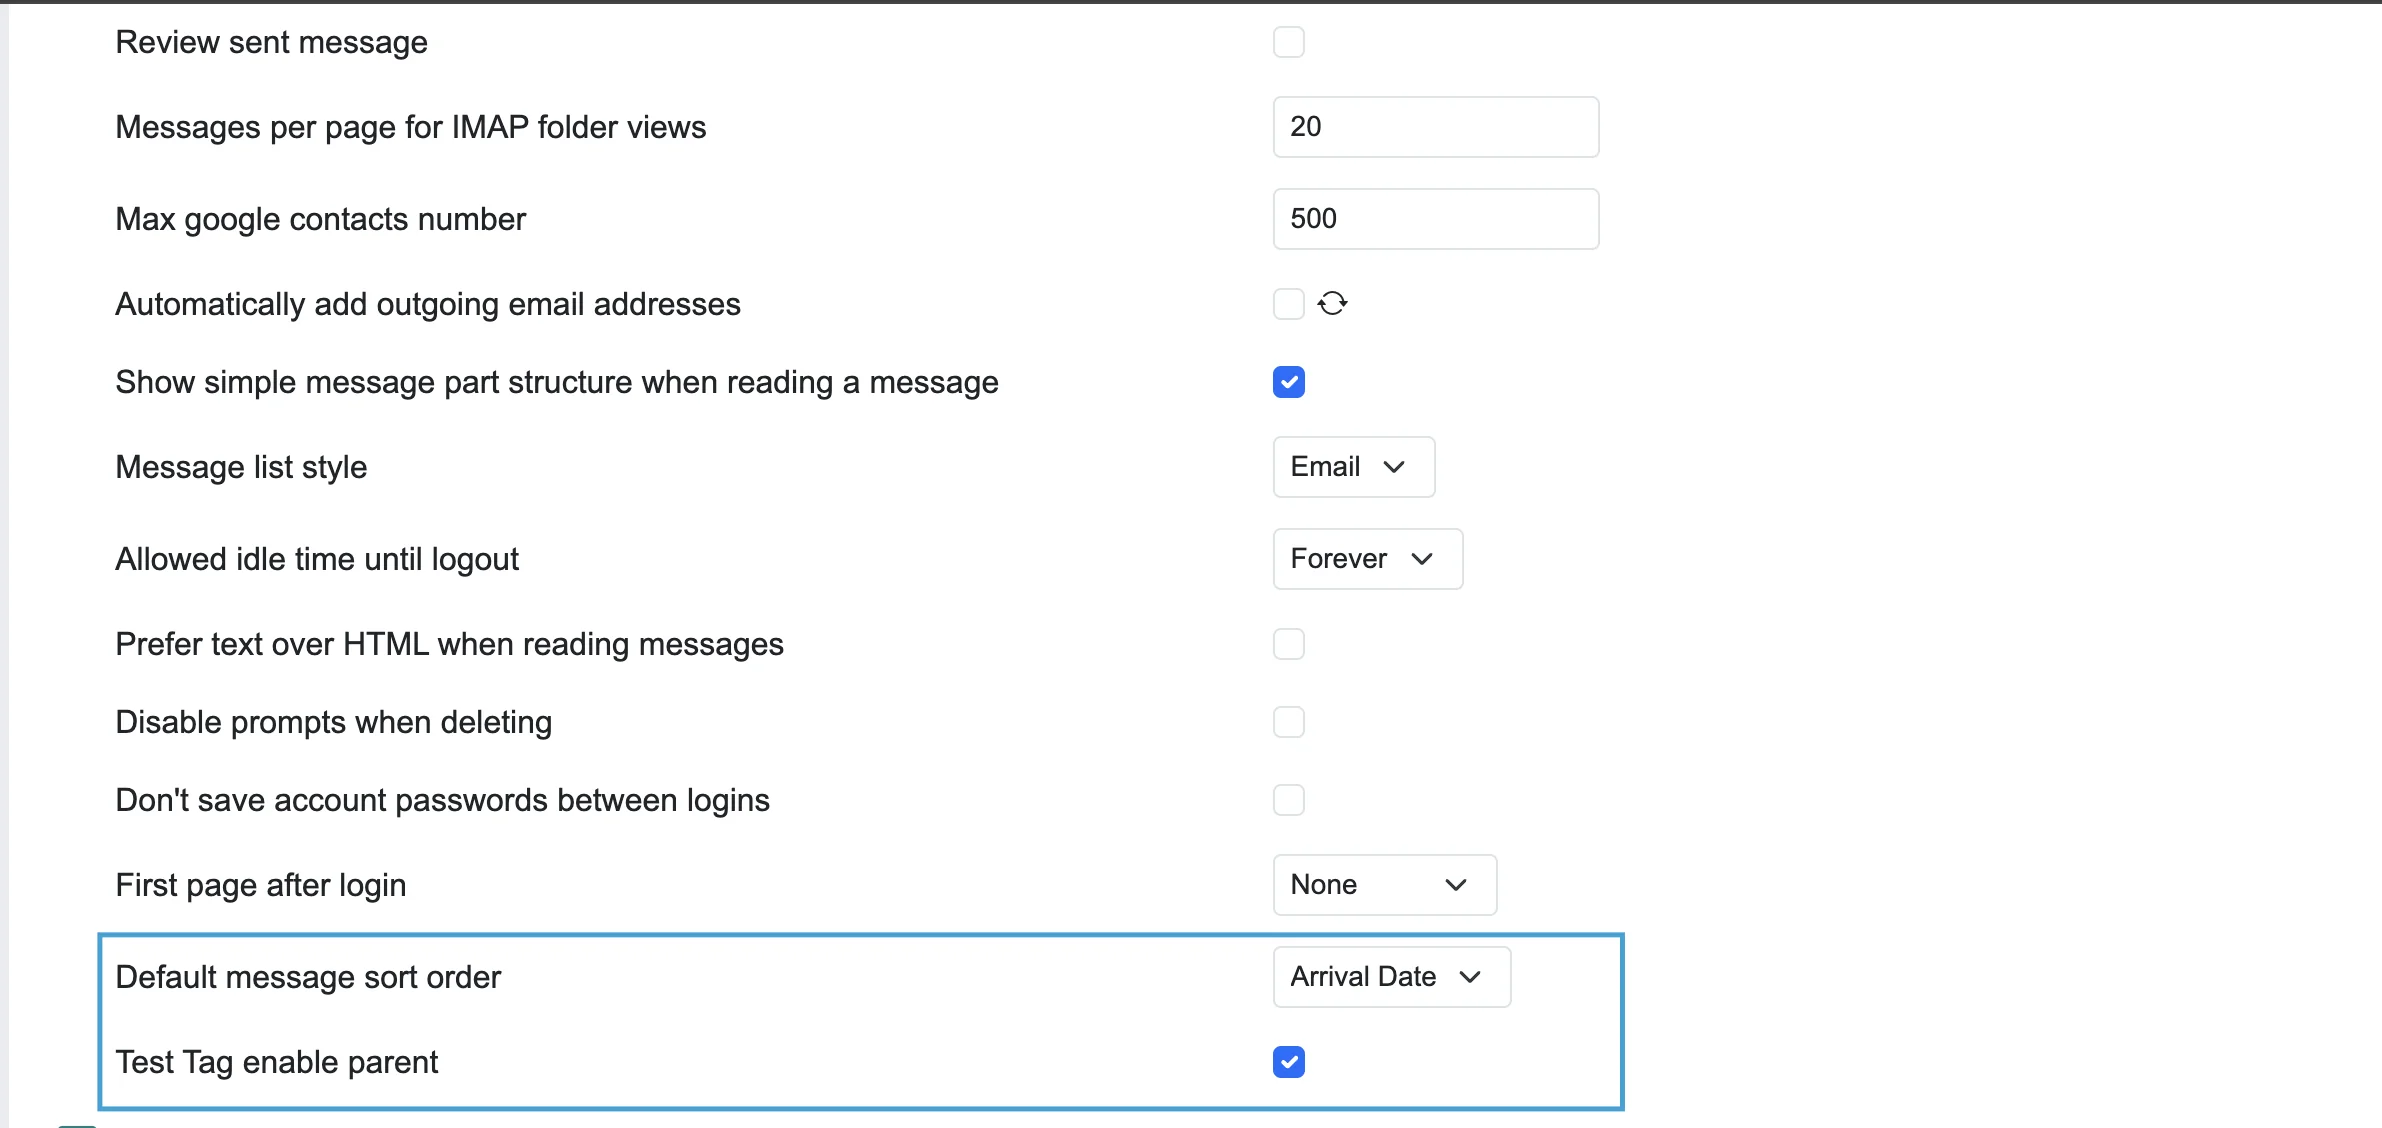
// core/setup.php
'allowed_post' => array(
    'test_enable_tag_with_parent' => FILTER_VALIDATE_INT
)
Read the saved value anywhere with the usual syntax :
$this->user_config->get('test_enable_tag_with_parent_setting');A Full Settings Section
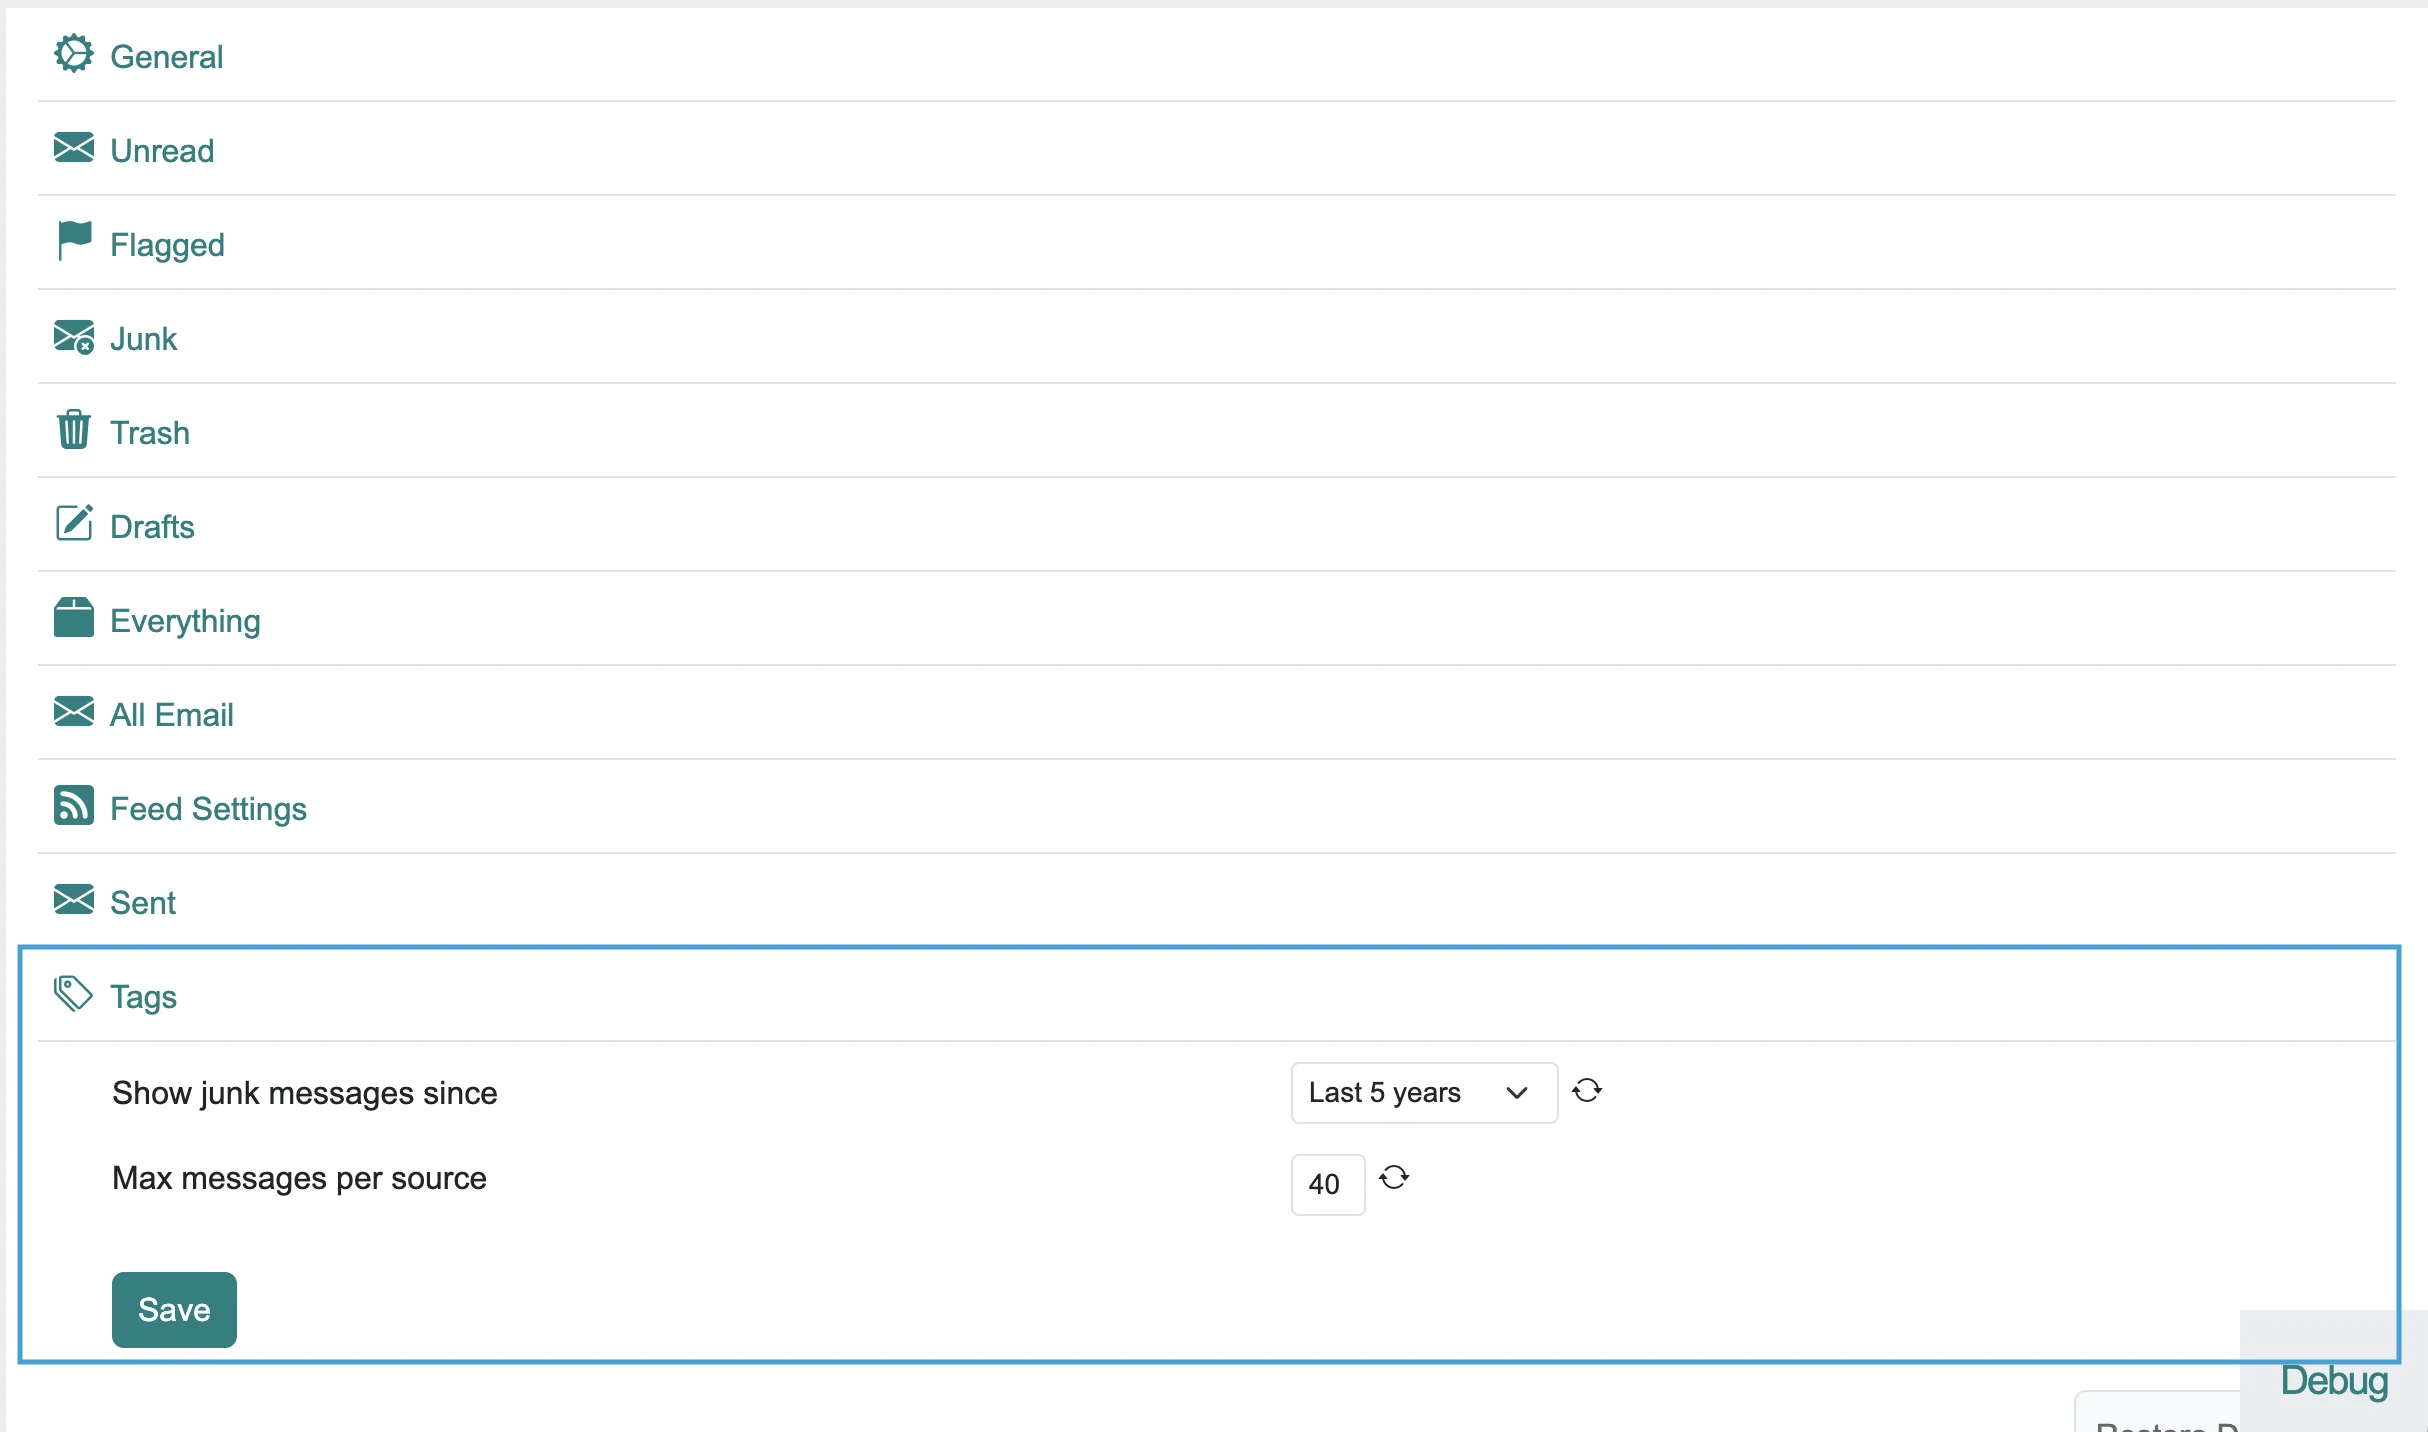
Now that a single setting works, let's add a whole section to the settings page :
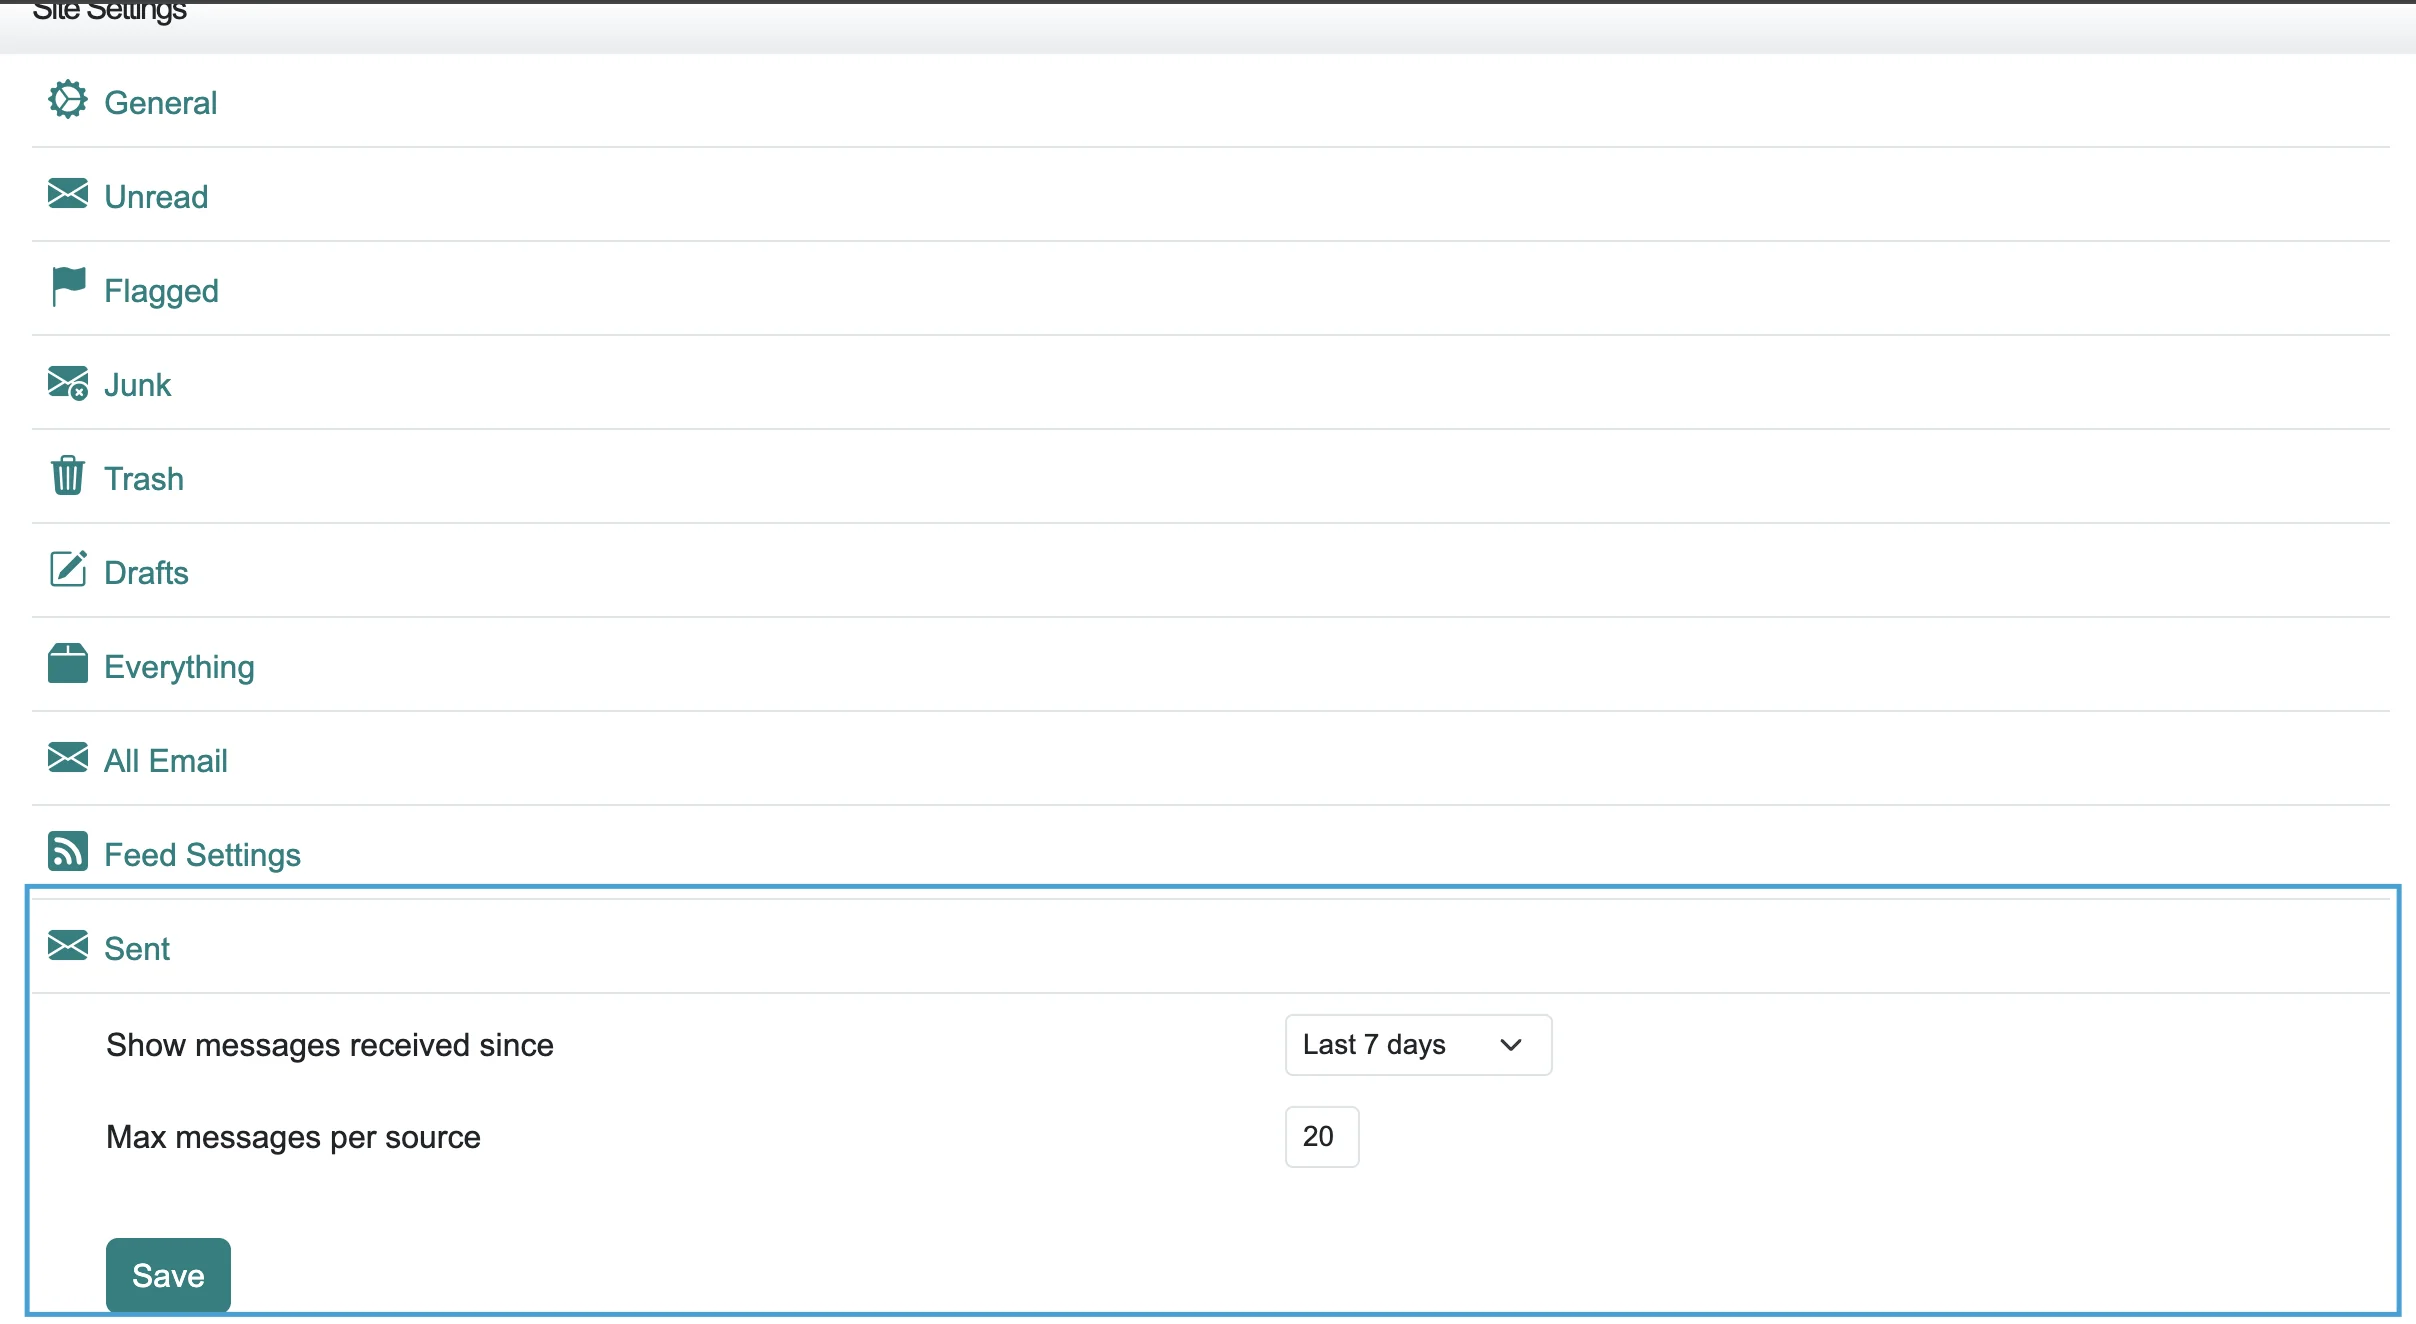
The goal is the section below : a title plus two settings.
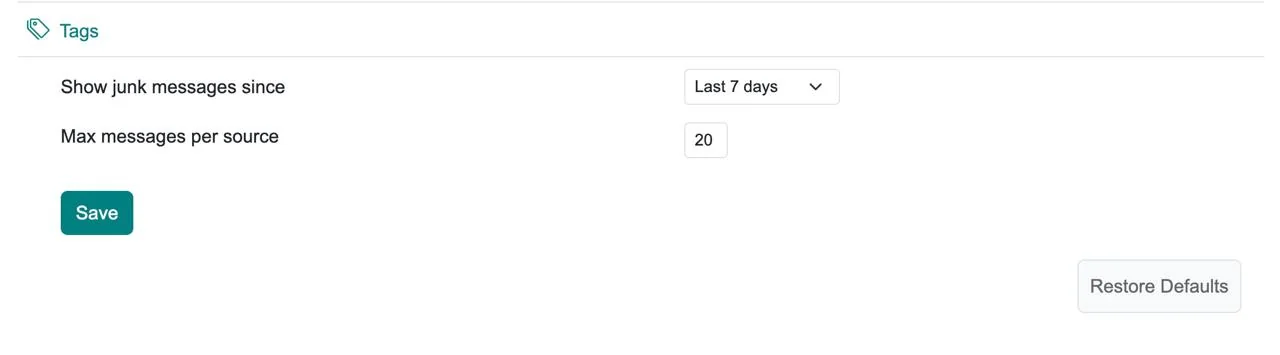
It needs two handlers (to process each value) and three outputs (section title + two controls) :
// tags/setup.php
add_handler('settings', 'process_tag_source_max_setting', true, 'tags', 'load_user_data', 'after');
add_handler('settings', 'process_tag_since_setting',     true, 'tags', 'load_user_data', 'after');
add_output('settings', 'start_tag_settings',    true, 'tags', 'sent_source_max_setting', 'after');
add_output('settings', 'tag_since_setting',     true, 'tags', 'start_tag_settings',      'after');
add_output('settings', 'tag_per_source_setting', true, 'tags', 'tag_since_setting',      'after');
// tags/modules.php (handlers)
class Hm_Handler_process_tag_source_max_setting extends Hm_Handler_Module {
public function process() {
process_site_setting('tag_per_source', $this, 'max_source_setting_callback', DEFAULT_PER_SOURCE);
}
}
class Hm_Handler_process_tag_since_setting extends Hm_Handler_Module {
public function process() {
process_site_setting('tag_since', $this, 'since_setting_callback');
}
}// tags/modules.php (outputs)
class Hm_Output_start_tag_settings extends Hm_Output_Module {
protected function output() {
return '<tr><td data-target=".tag_setting" colspan="2" class="settings_subtitle cursor-pointer border-bottom p-2">'.
'<i class="bi bi-tags fs-5 me-2"></i>'.$this->trans('Tags').'</td></tr>';
}
}
class Hm_Output_tag_since_setting extends Hm_Output_Module {
protected function output() {
$since = DEFAULT_SINCE;
$settings = $this->get('user_settings', array());
if (array_key_exists('tag_since', $settings) && $settings['tag_since']) {
$since = $settings['tag_since'];
}
return '<tr class="tag_setting"><td><label for="tag_since">'.
$this->trans('Show tag messages since').'</label></td>'.
'<td>'.message_since_dropdown($since, 'tag_since', $this).'</td></tr>';
}
}
class Hm_Output_tag_per_source_setting extends Hm_Output_Module {
protected function output() {
$sources = DEFAULT_PER_SOURCE;
$settings = $this->get('user_settings', array());
if (array_key_exists('tag_per_source', $settings)) {
$sources = $settings['tag_per_source'];
}
return '<tr class="tag_setting"><td><label for="tag_per_source">'.
$this->trans('Max messages per source').'</label></td>'.
'<td><input type="text" size="2" class="form-control form-control-sm w-auto" '.
'id="tag_per_source" name="tag_per_source" value="'.$this->html_safe($sources).'" /></td></tr>';
}
}And there you have it! Refresh the settings page to see the new Tags section :
Related Links & References
External specifications and tutorials referenced throughout Cypht's protocol and filtering code.
- Dovecot imaptest
- JMAP specification
- Sieve (sieve.info)
- Sieve tutorial
- Fastmail Sieve guide
- Gandi Sieve tutorial
On this page