Sieve Filters
What Are Sieve Filters?
Sieve is a server-side mail filtering language supported by many IMAP servers. In Cypht, Sieve filters let you define rules that run automatically on every new message as it arrives, as long as the filter is active.
Because the rules execute on the mail server itself, they work even when you are not logged into Cypht. Messages are sorted, flagged, forwarded, or discarded before they ever appear in your inbox view.
Step 1 : Enable the Sieve Filters Module
Before you can create any filter, the sievefilters module must be activated in your Cypht configuration. If the Sieve Filters section is already visible under Settings, you can skip this step.
Cypht 2.x (.env file)
Add sievefilters to the CYPHT_MODULES variable :
CYPHT_MODULES="core,imap,smtp,sievefilters"Cypht 1.4.x (hm3.ini file)
Add a new module entry :
modules[]=sievefiltersAfter saving the configuration, reload or redeploy your Cypht instance. The Filters menu will then appear under the Settings tab.
Step 2 : Create from the Sieve Filters Page
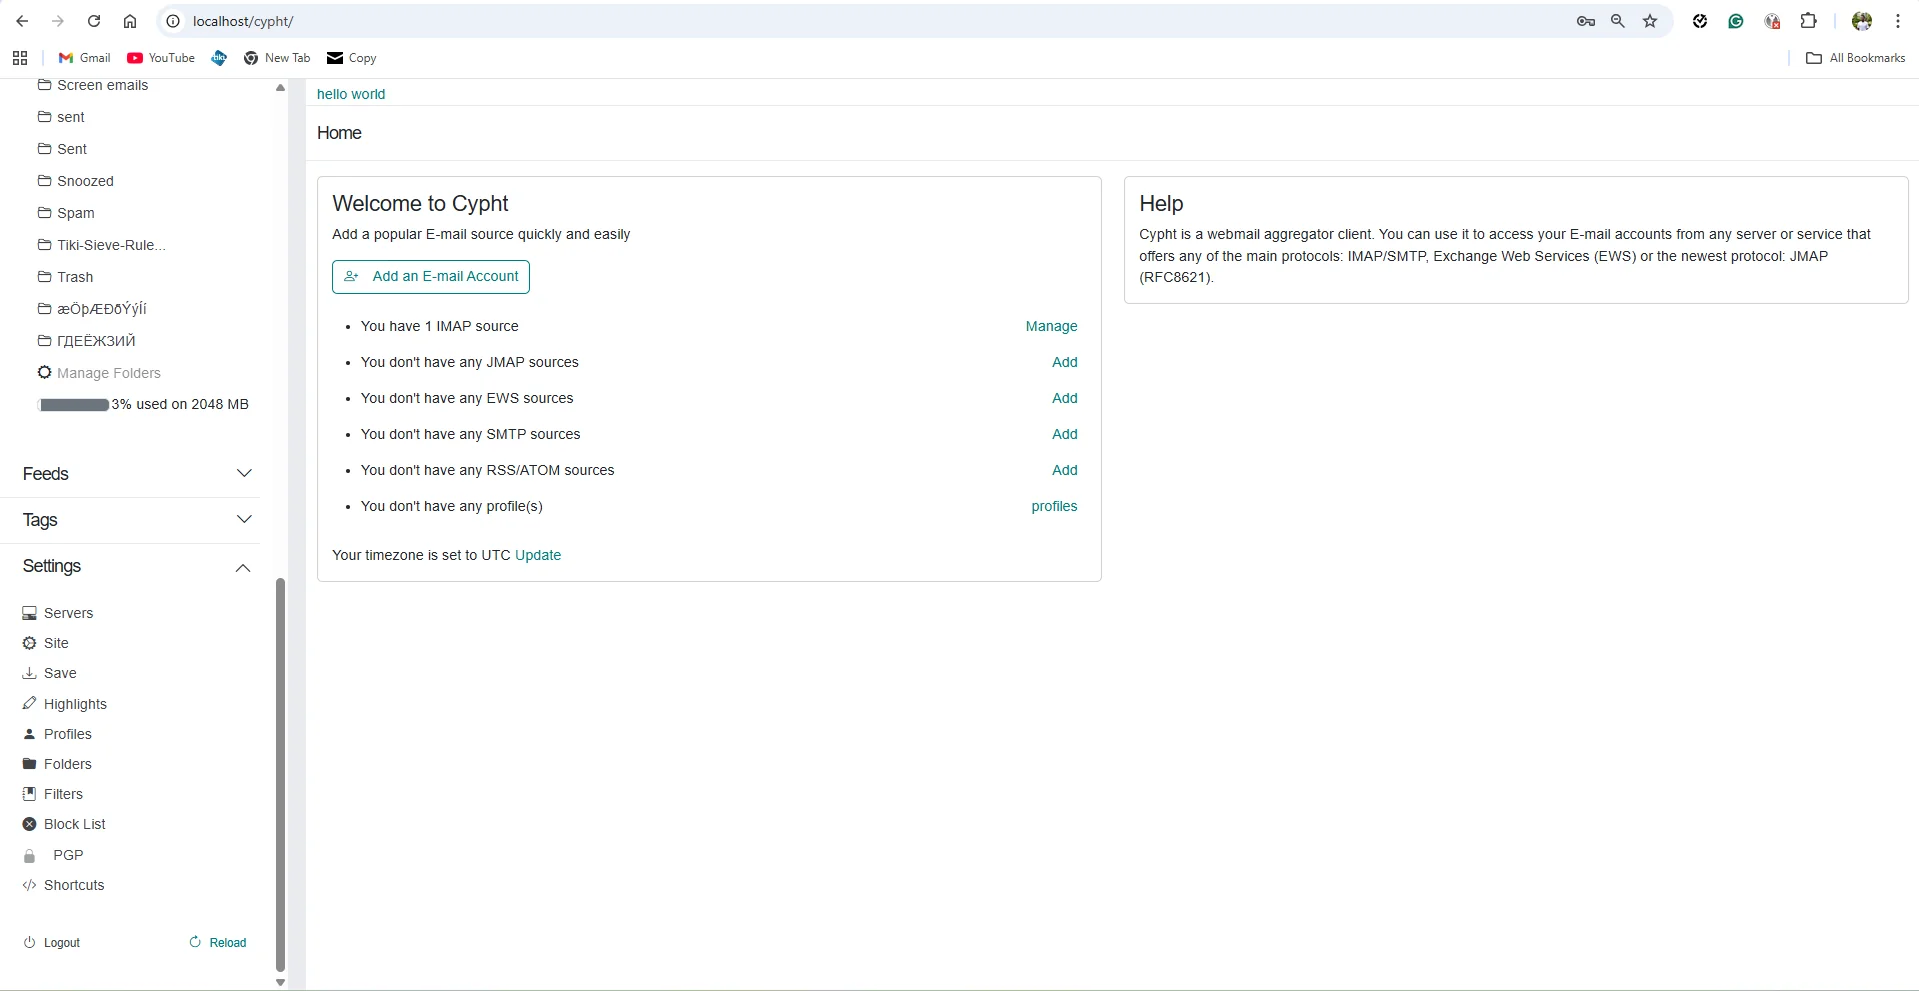
The most direct way to manage filters is through the dedicated Sieve Filters page in Settings.
Add a Filter
- Open Settings in the sidebar.
- Click Filters.
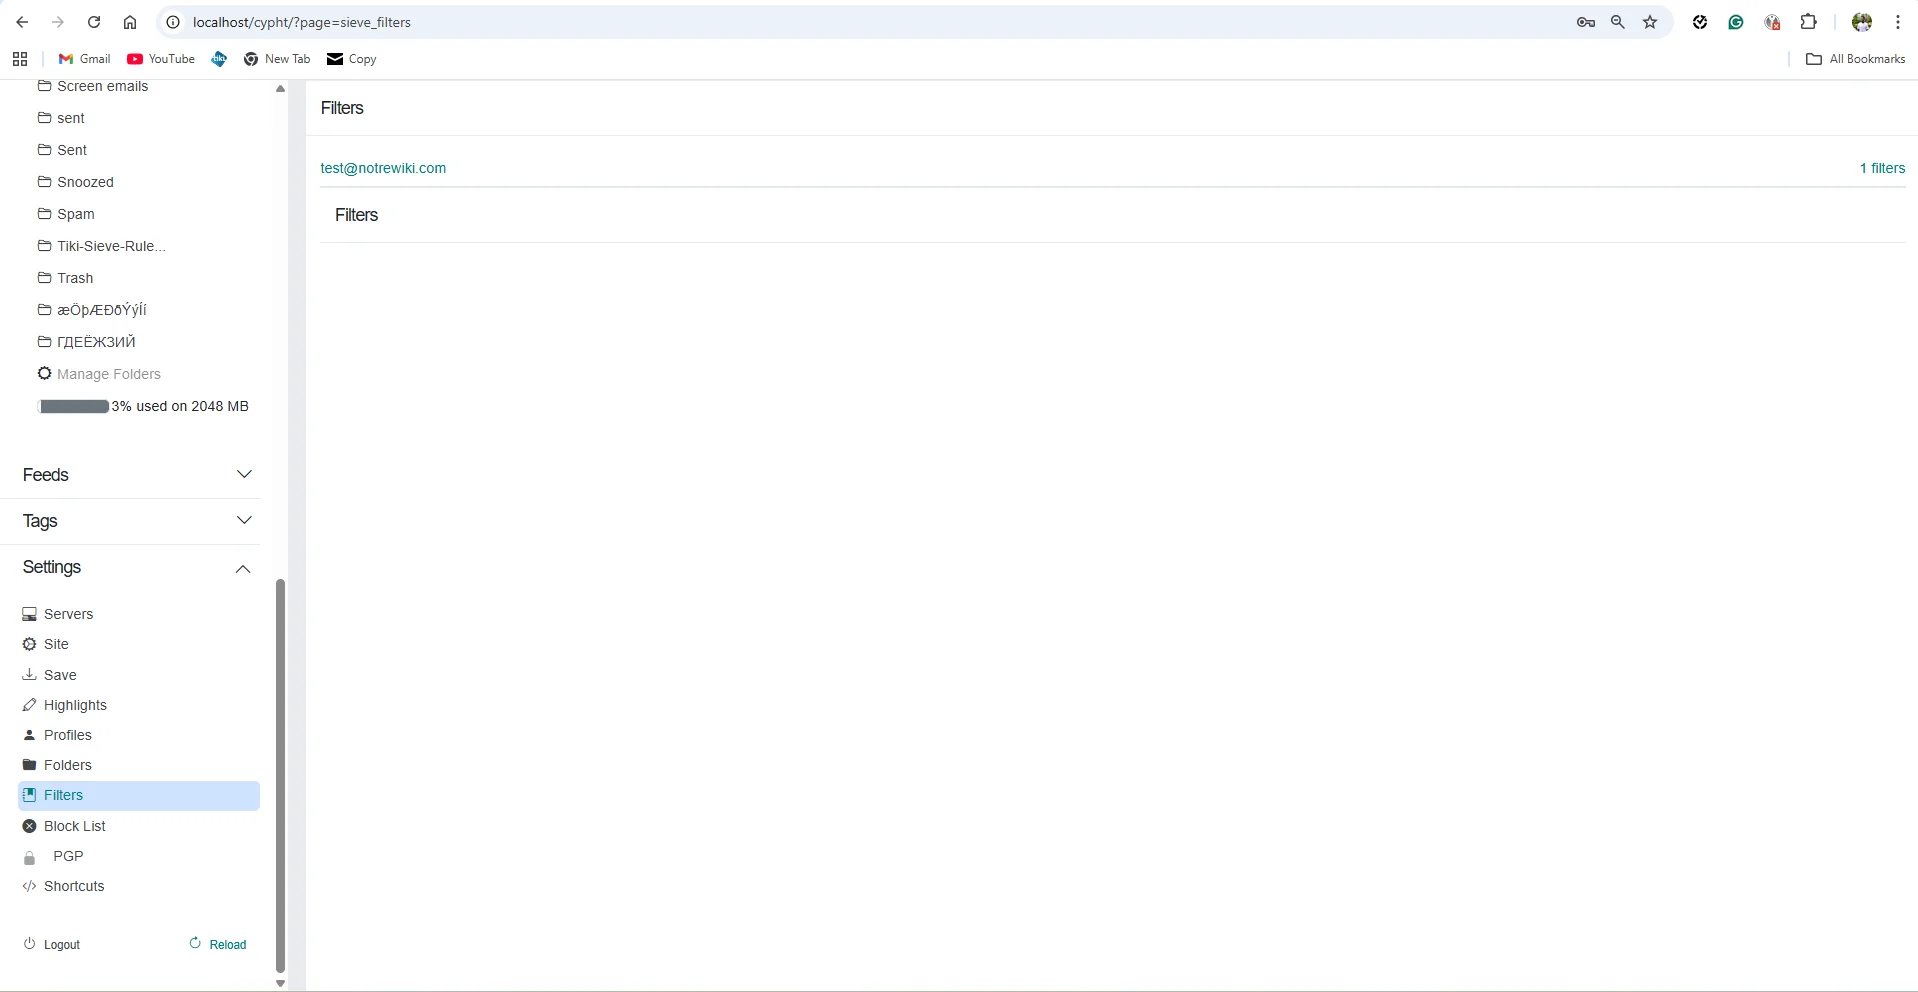
- Select the email account you want to manage.
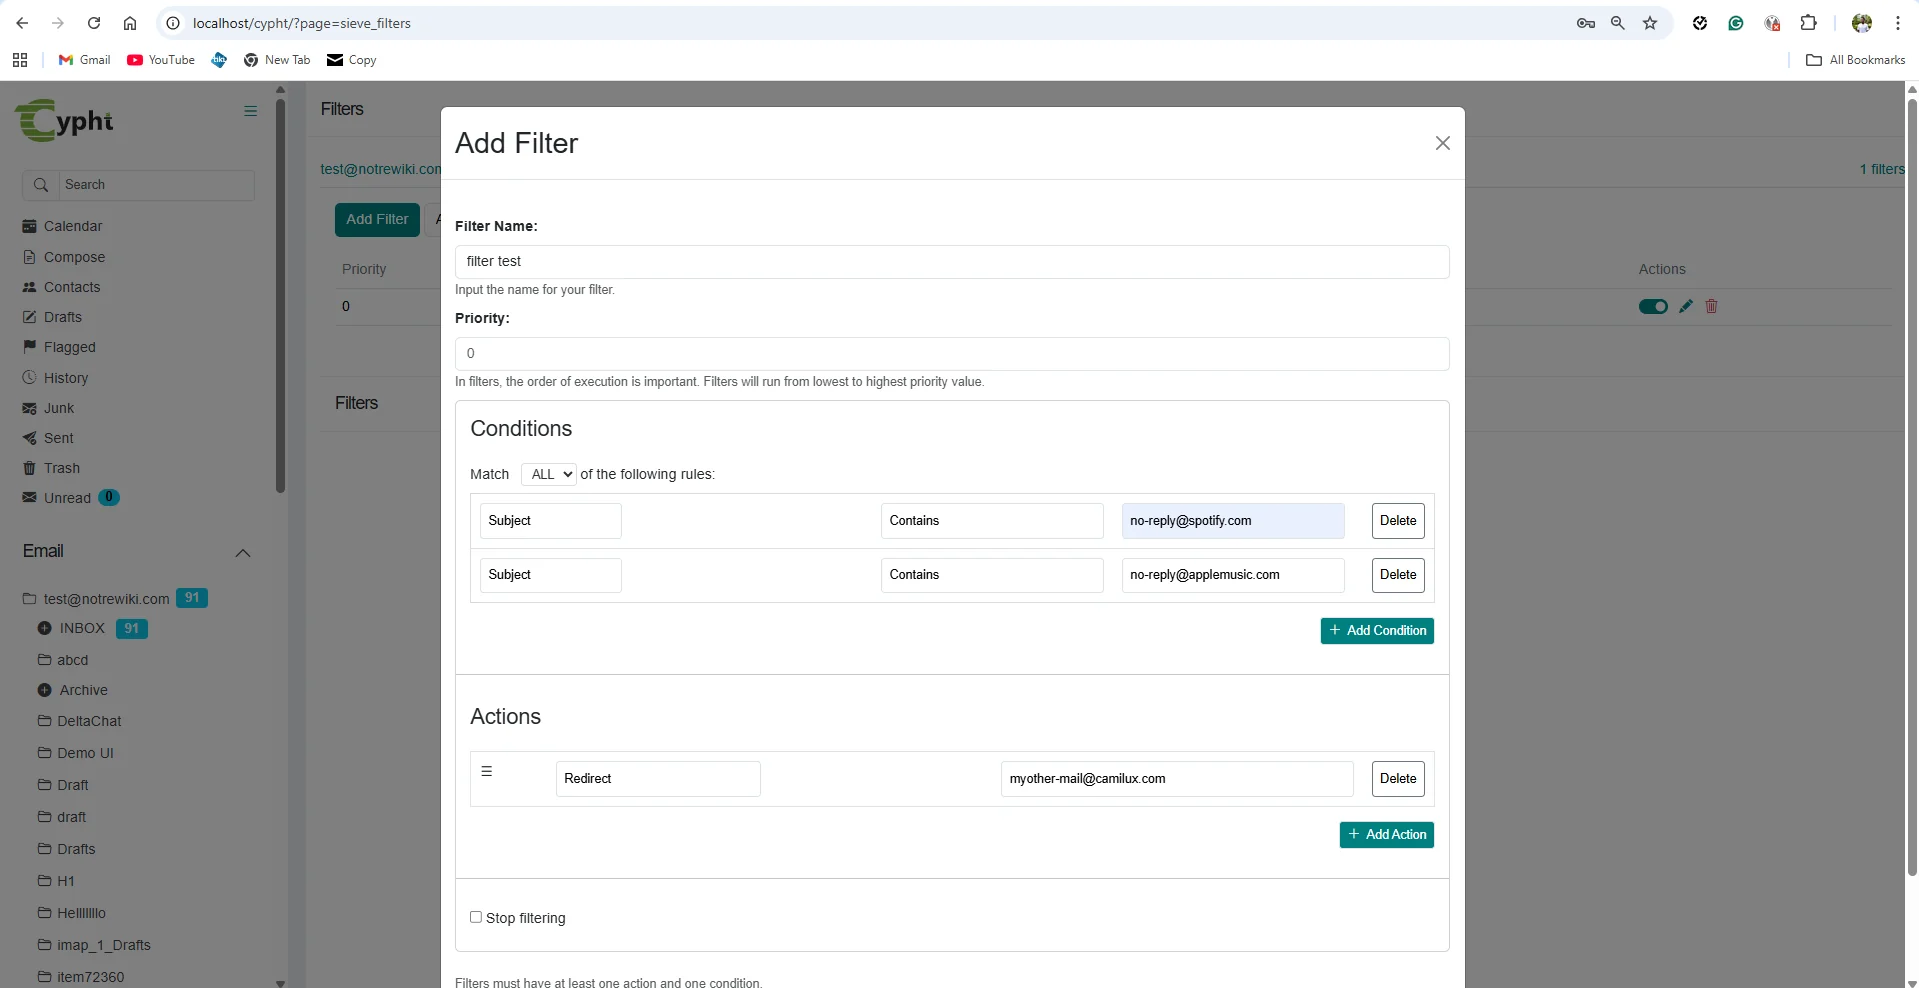
- Click Add Filter.
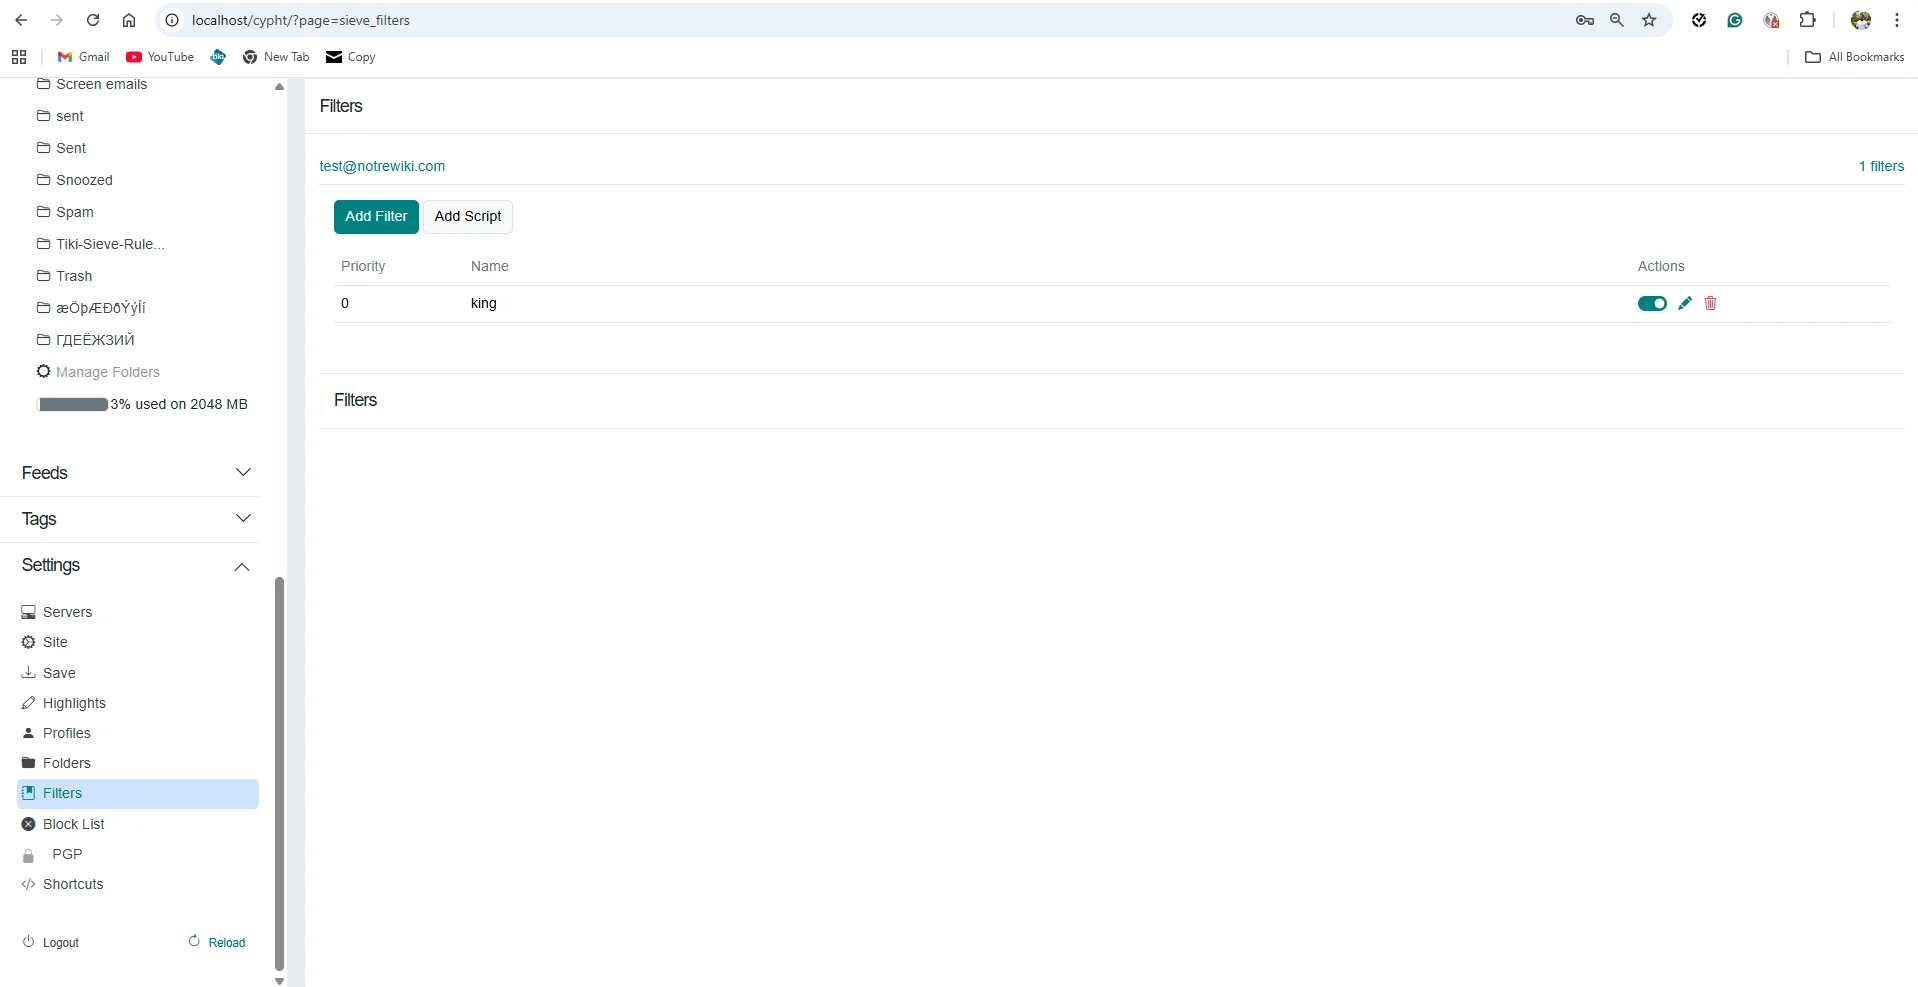
- Enter a filter name and set its priority.
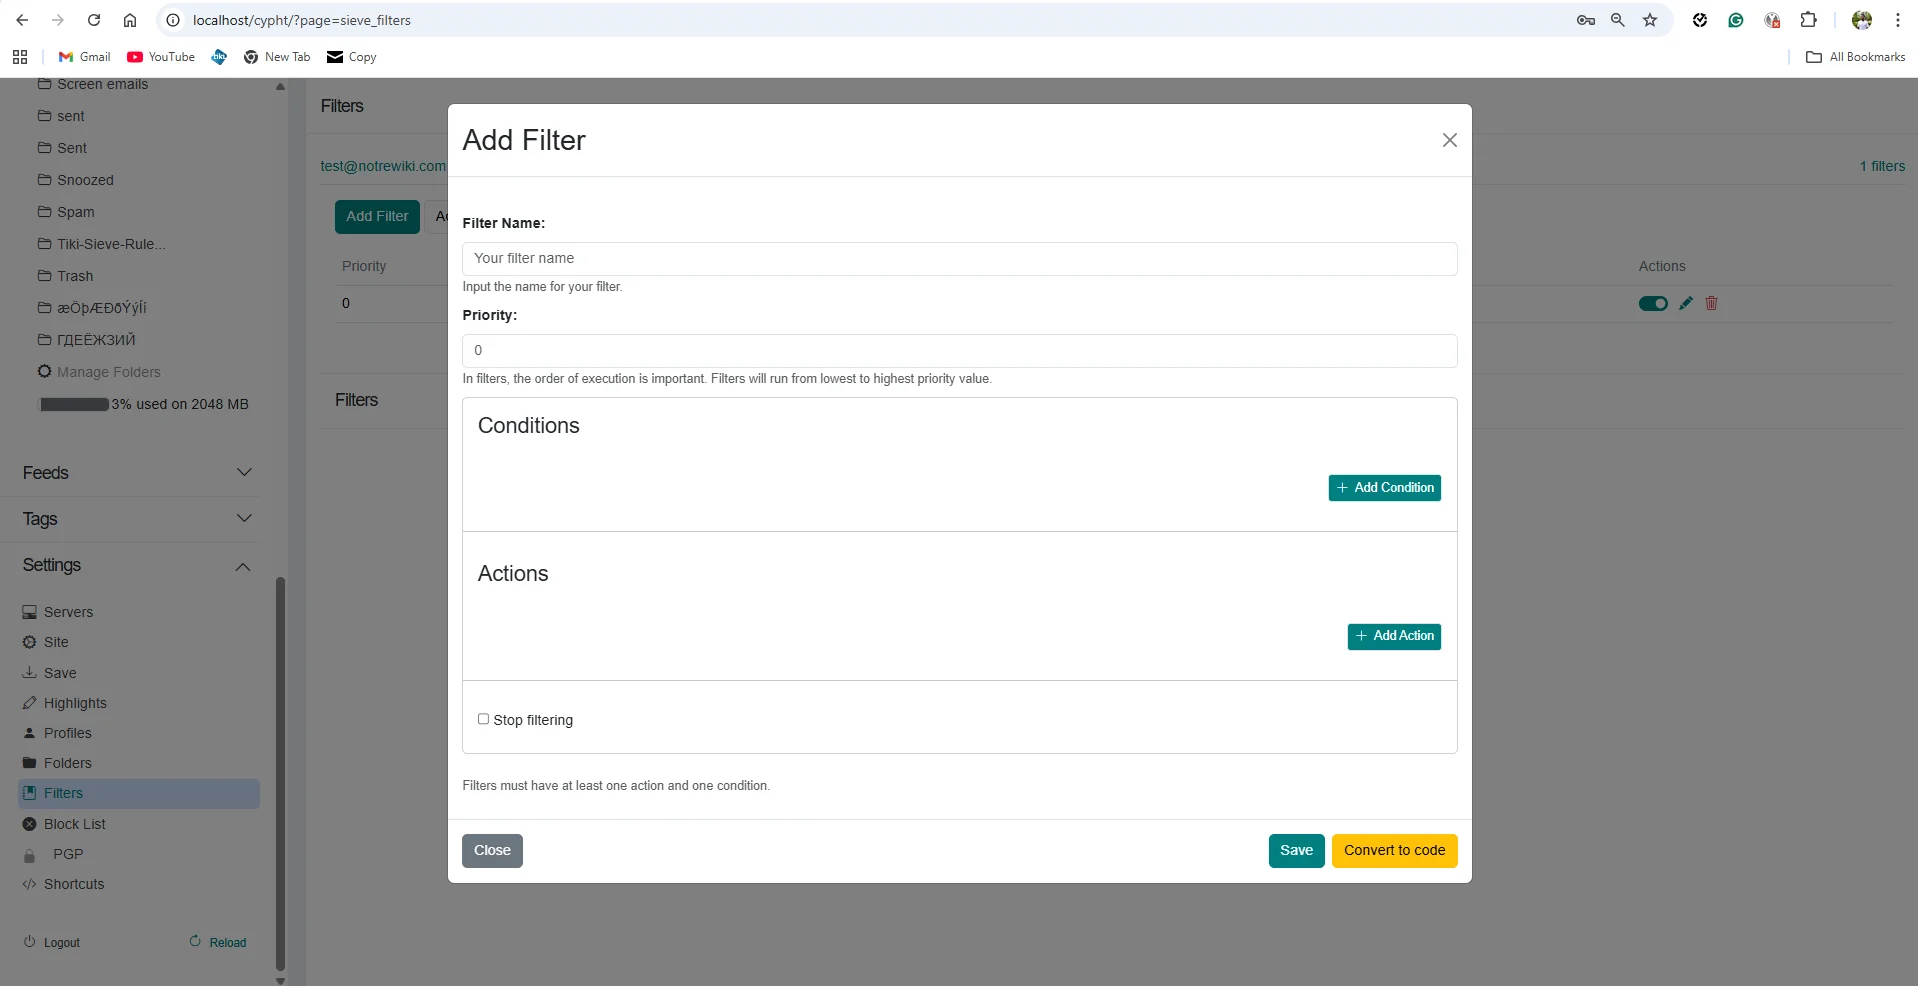
- Add one or more conditions (sender, subject, recipient, body, etc.).
- Set the test logic : use ALLOF if every condition must match, or ANYOF if any single condition is enough.
- Choose the action : move to folder, copy, flag, discard, redirect, etc.
- Save the filter.
Add a Custom Script
Cypht now includes a Quick Actions dropdown in the message list controls so you can create, test, and reuse advanced filters without leaving the current view.
All saved filters and scripts appear in the list on the Sieve Filters page. Click any entry to open the edit modal where you can update conditions, change actions, or delete the filter entirely.
Step 3 : Create from Selected Messages
The Quick Actions dropdown in the message list toolbar lets you build filters directly from messages you are looking at, without navigating to Settings.
- Select one or more messages in the current mailbox view.
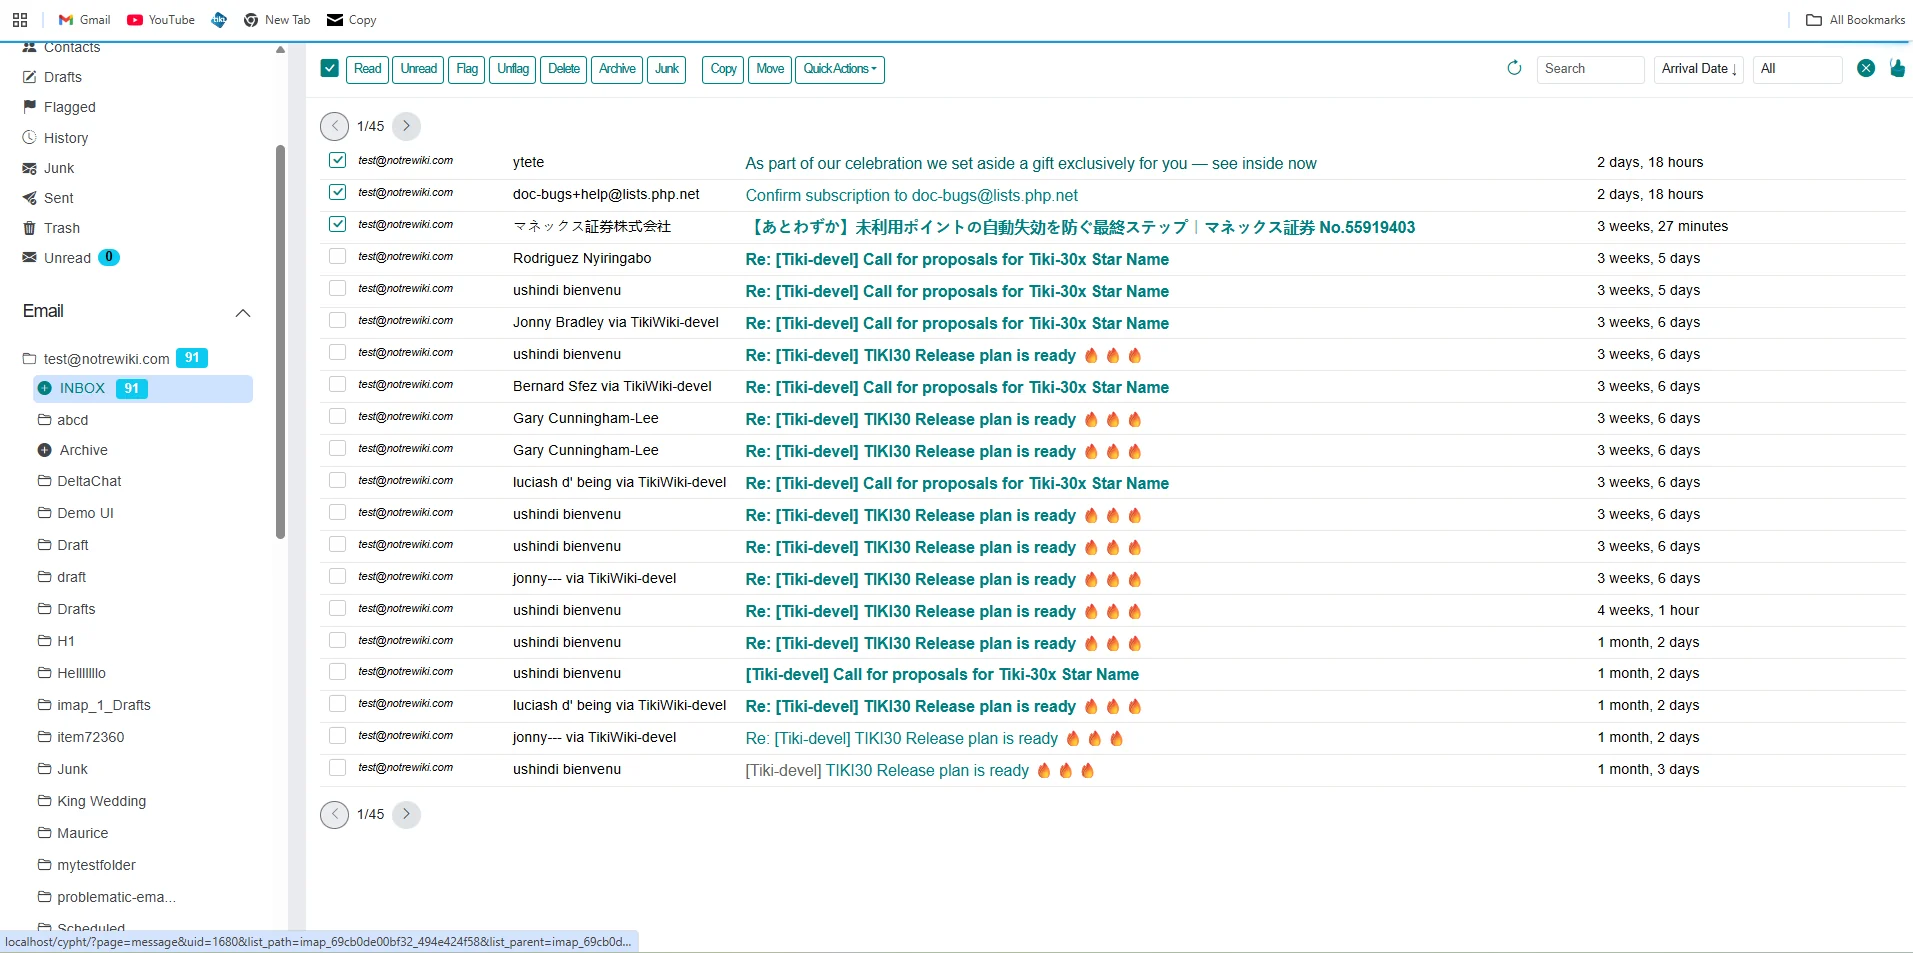
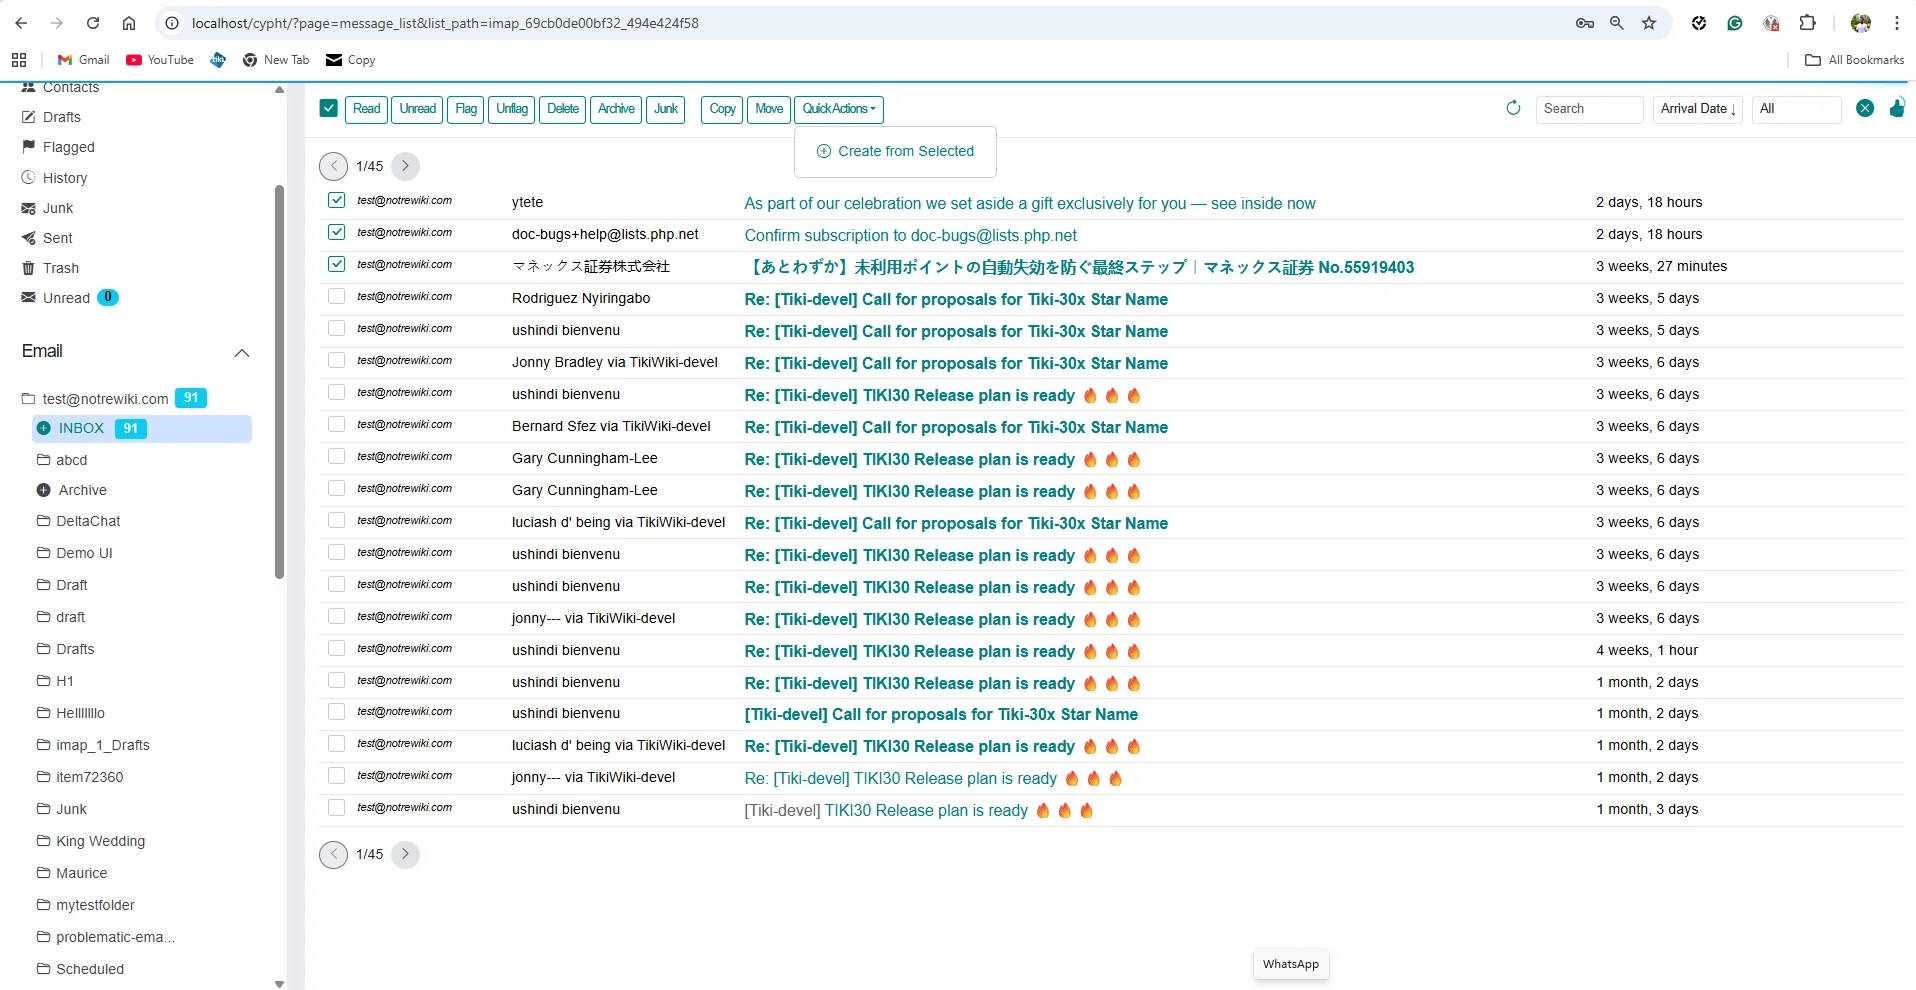
- Click the Quick Actions button in the toolbar.
- Click Create from Selected.
- Review the auto-populated conditions (From addresses and Subject keywords are prefilled from the selected messages).
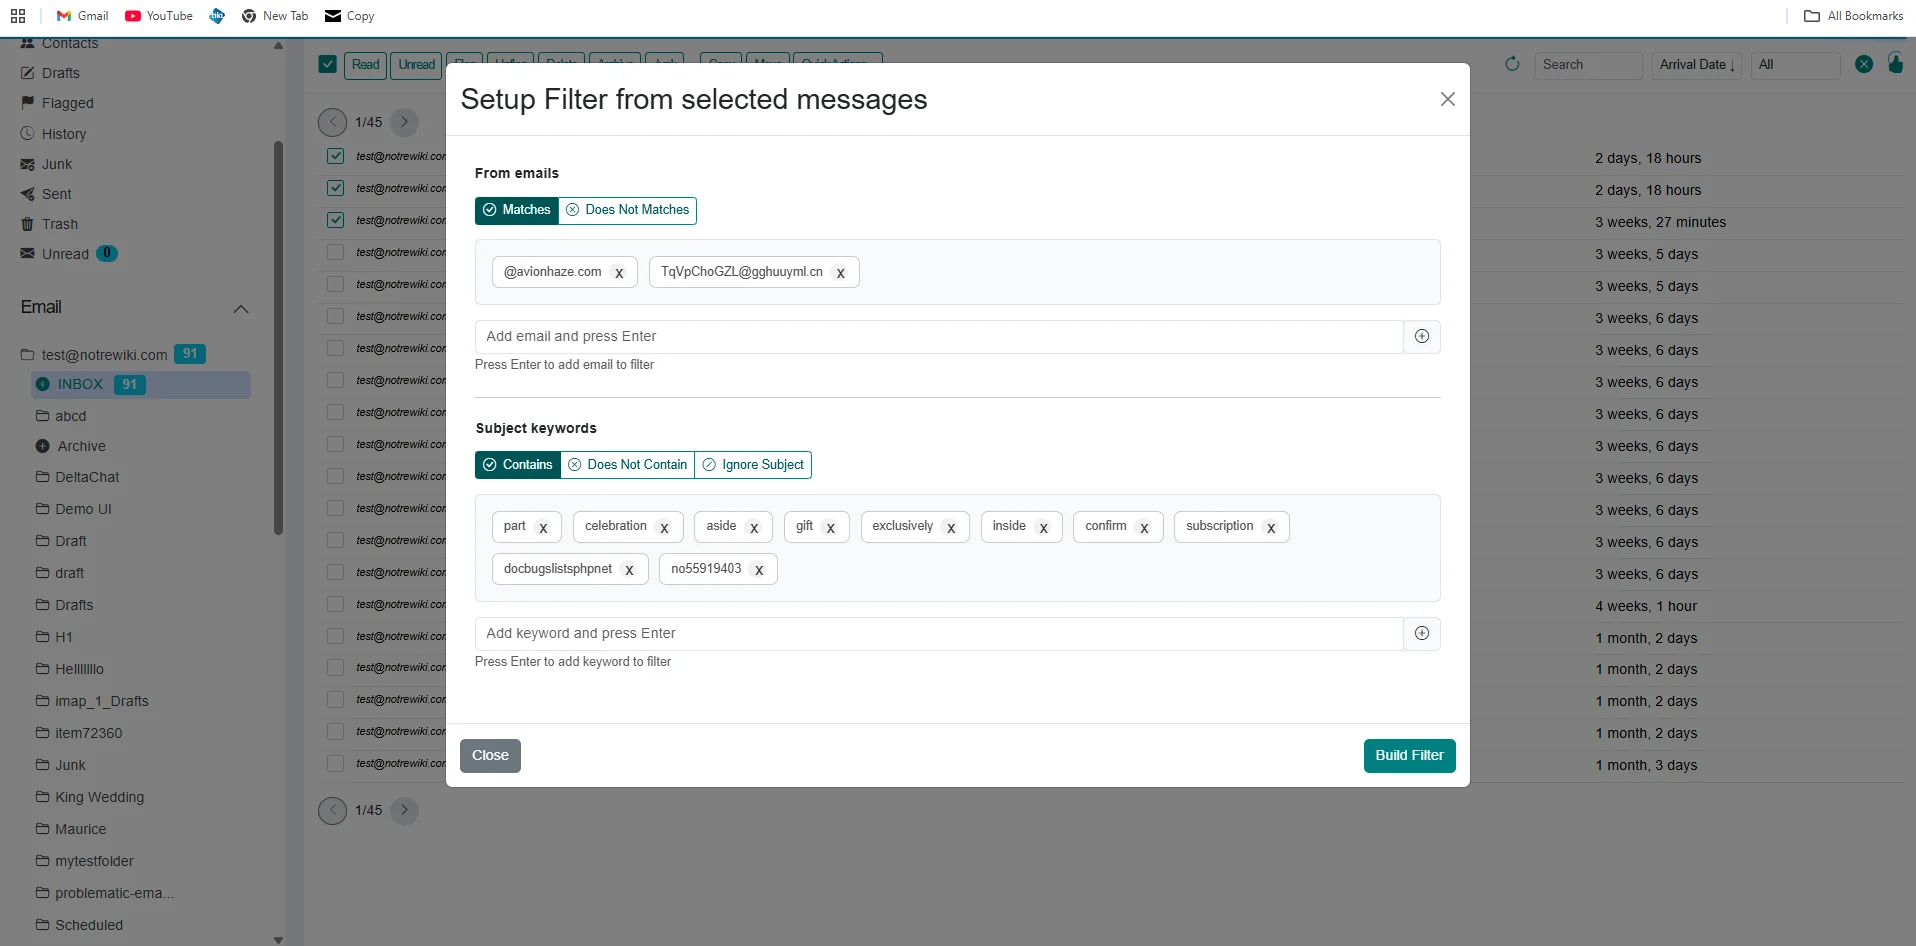
- Adjust the matching options :
- From : Matches / Does Not Match
- Subject : Contains / Does Not Contain / Ignore Subject
- Choose the action to apply.
- Click Dry Run to test the filter against messages already loaded in the list : matched and unmatched messages are shown in a results panel so you can verify the rule before committing.
- Save the filter.
Dry Run
The Dry Run button tests the current filter conditions against messages already loaded in the message list and shows which ones match and which do not, without moving or changing anything. It does not fetch additional messages from the server.
- Create a filter from selected messages or open an existing filter from the Quick Actions dropdown.
- Adjust the conditions, actions, and match logic.
- Click Dry Run in the modal.
- Review the matched and unmatched messages in the results panel.
- Close the results panel, refine the filter, and run it again if needed.
- Save only when the previewed behavior is correct.
Reuse and Edit Quick Actions
Filters created through this workflow are automatically marked as quick actions and appear in the Quick Actions dropdown for future use. Click any existing action in the dropdown to reopen its edit modal, adjust conditions, dry run it against the current messages, or delete it.
Step 4 : Create from an Opened Message
When you are reading a single email and want to filter similar messages in the future, use the Filter similar messages button.
- Open the message you want to base the filter on.
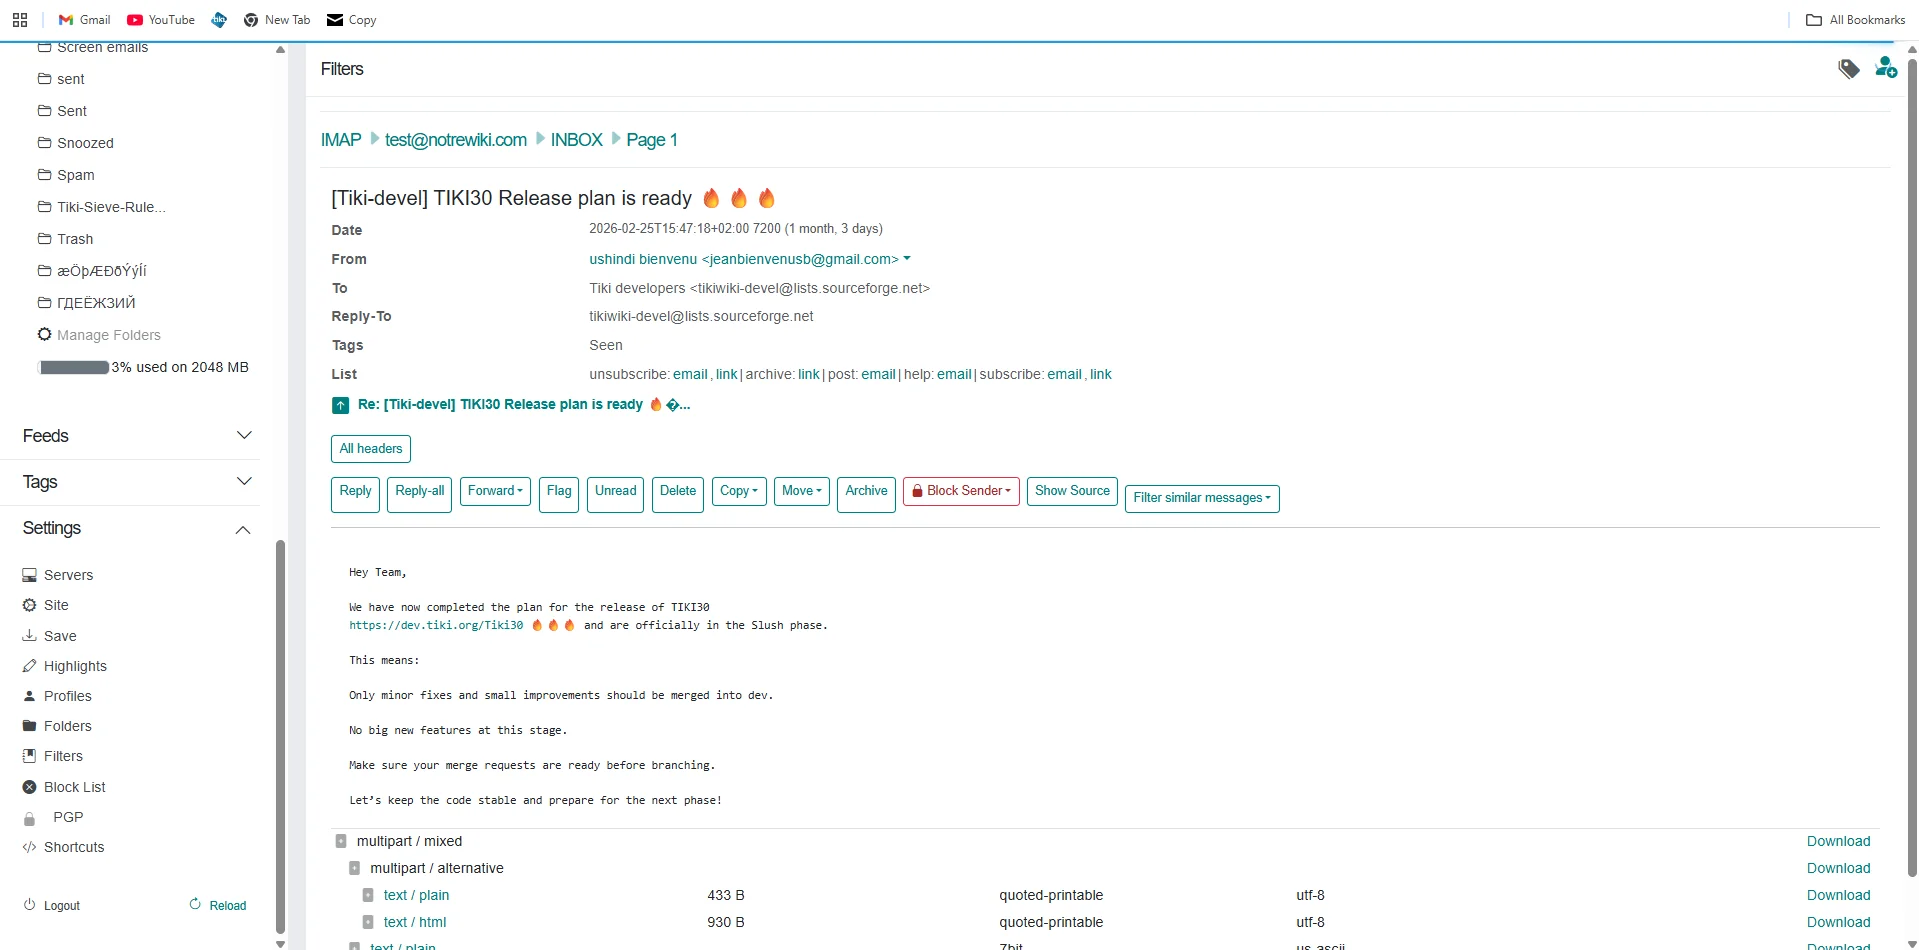
- Click Filter similar messages in the message actions area.
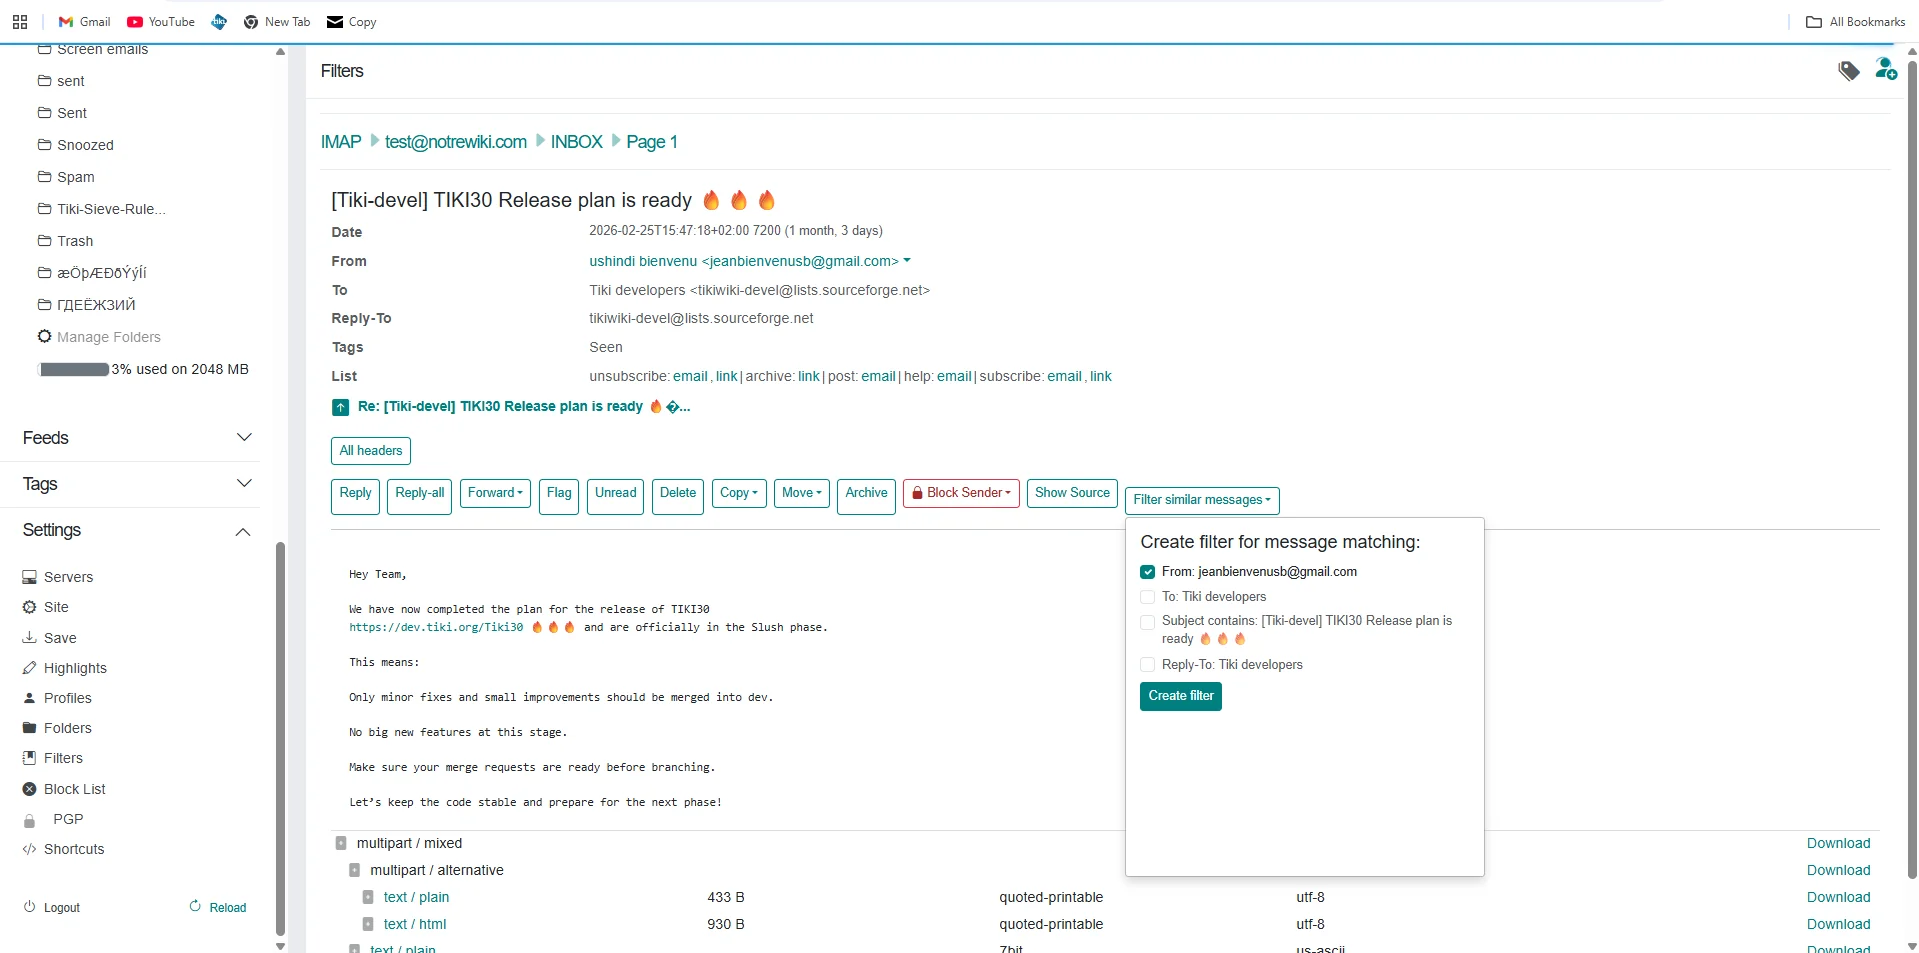
- Select the fields to match (From, To, Subject, Reply-To) and click Create filter.
- Review the prefilled conditions : Cypht auto-populates the filter name, sender, recipient, and subject from the opened message.
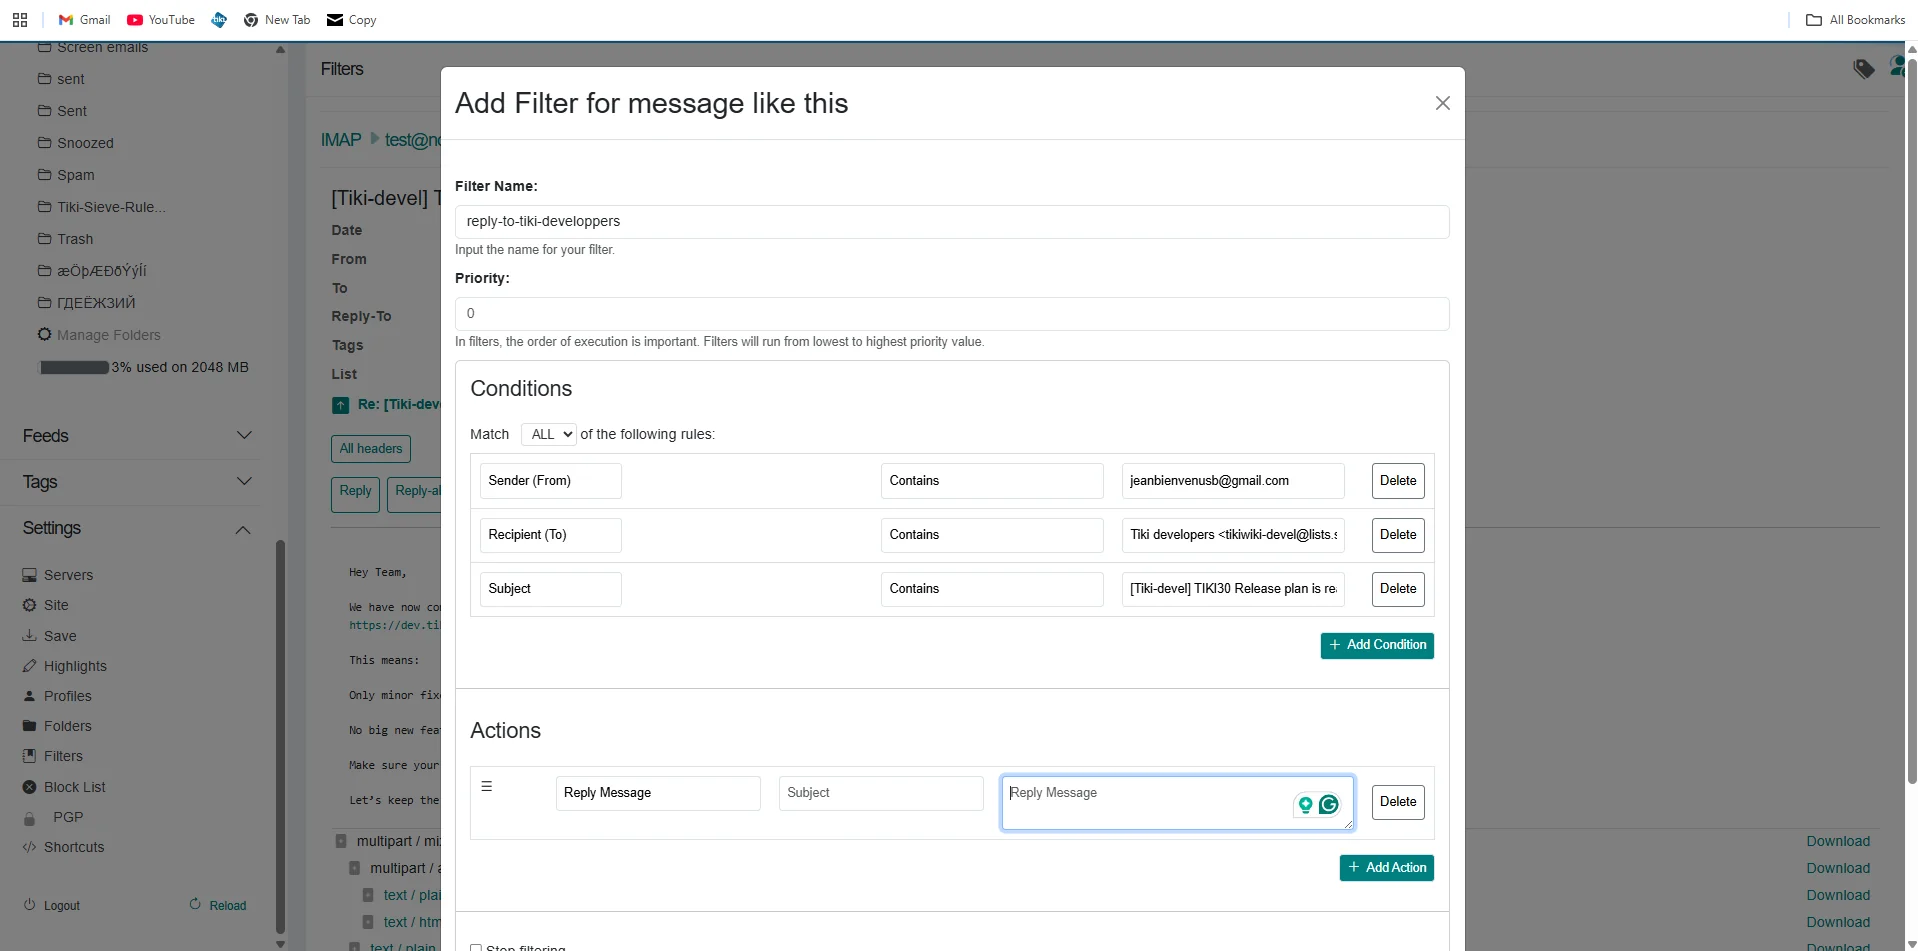
- Adjust the conditions and choose the action (move, flag, discard, etc.).
- Save the filter.
Troubleshooting
Related
- Issue : Configurable custom actions (buttons) #398
- Sieve language resources : sieve.info, Sieve tutorial, Fastmail Sieve docs
On this page